Controlling the Arduino Uno Q with Python | VideotronicMaker
January 22, 2026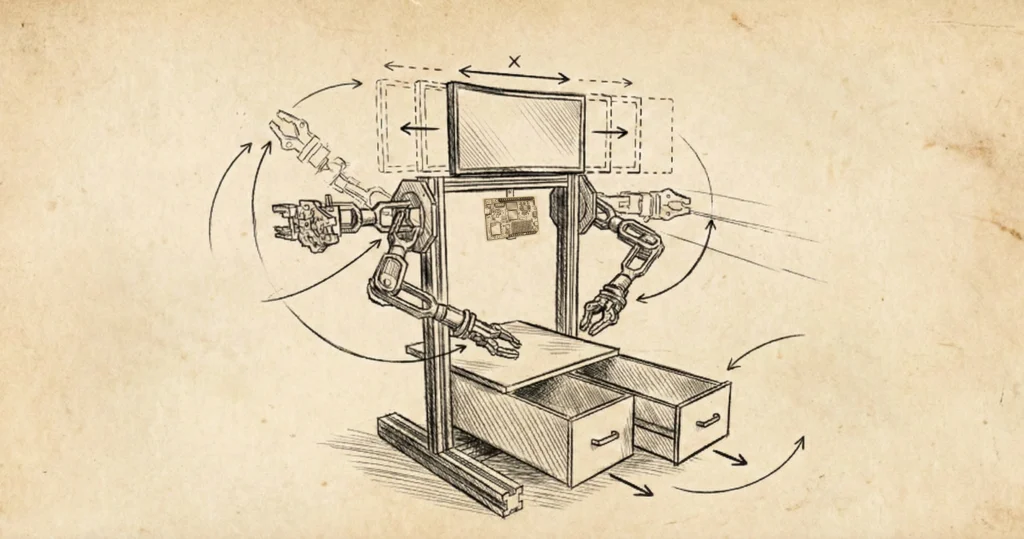
VTM P³™ Reference Design
An invitation to explore the physical platform.
This is not a product launch. It is not a finalized spec sheet. It is a preliminary blueprint for the VTM P³™—a concept I am sharing early so the community can see the physical foundation I am building on.

1. The Philosophy: Build It Up
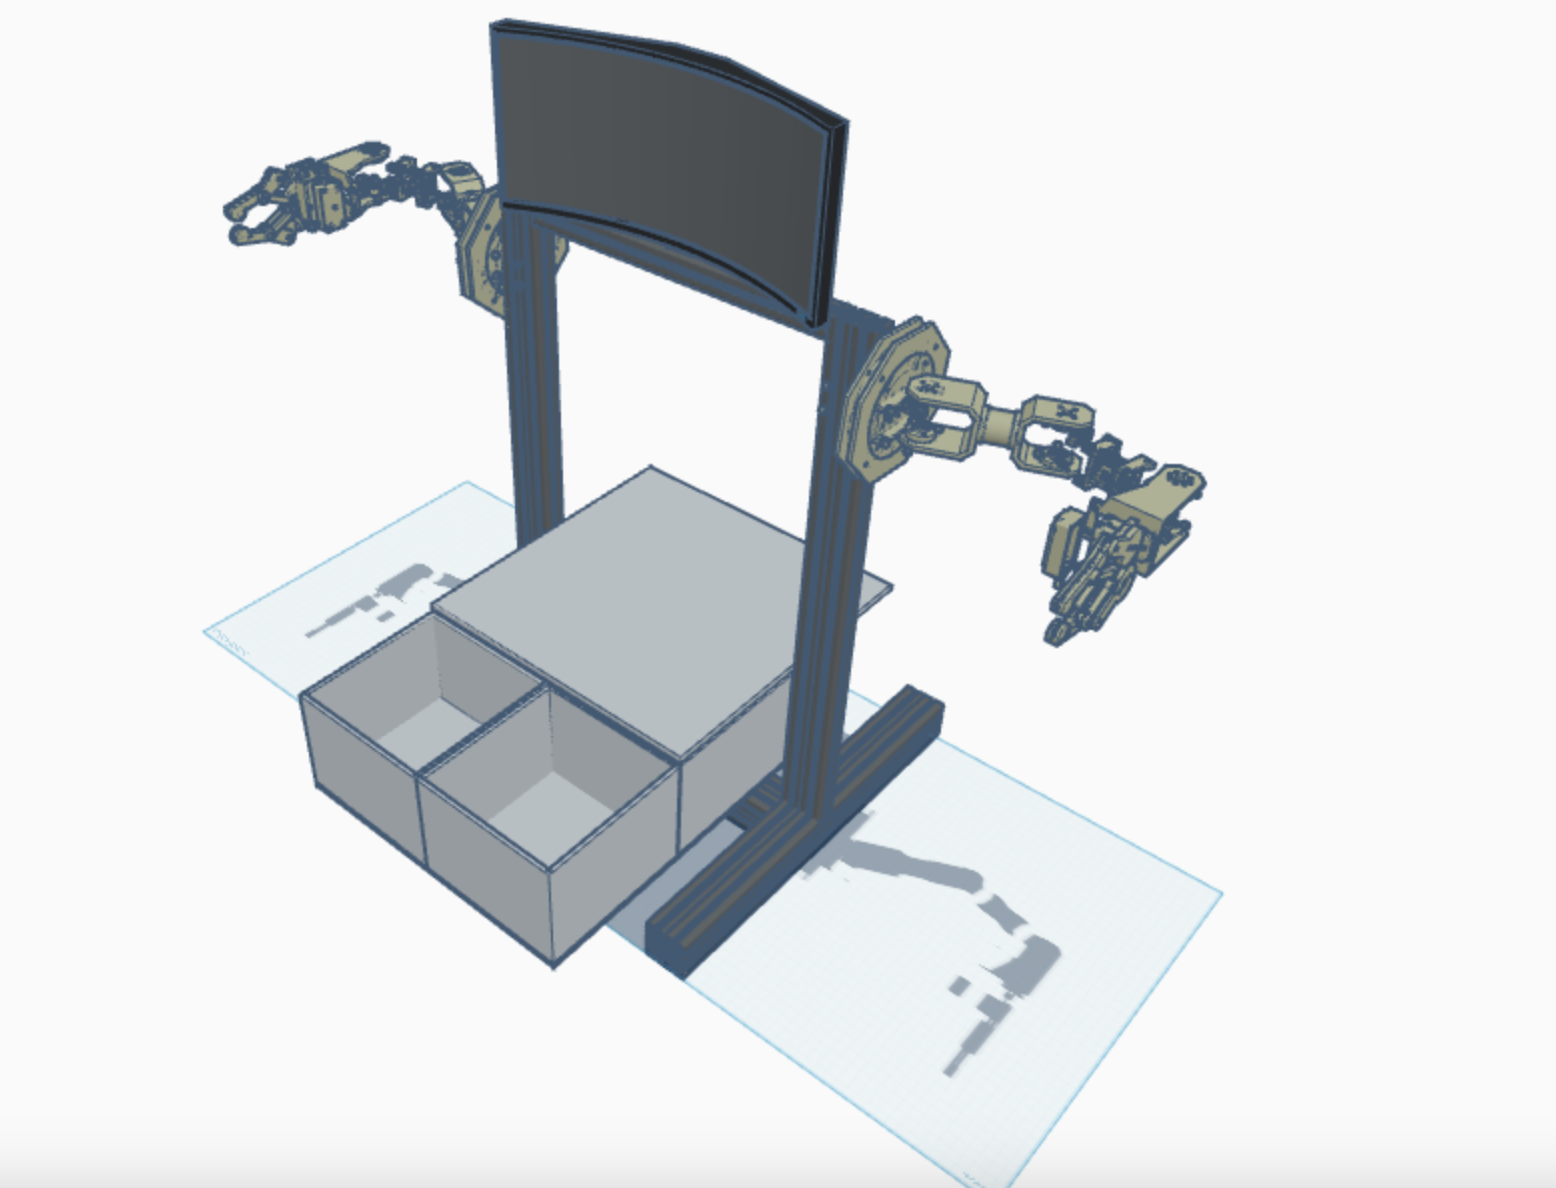
The VTM P³™ (Physical Prototyping Platform™) is not a robot you buy, turn on, and forget. It is a vertical workbench you build, expand, and hack. This is a hack of the standard Ender 3 design. We are taking the chassis of the world's most common 3D printer and repurposing it into a physical vessel for AI.
The Hack vs. The Build. If you have an old printer gathering dust, you can "hack" it by scavenging the frame. If you want to start fresh, you can simply "build" it by buying standard aluminum rails. The choice is yours.
The Rails Are The Key. The P³ is built on standard T-Slot aluminum rails (2020/2040/4040). These are not just for structure; they are for mounting whatever you can think of: fume extractors, DIY power supplies, button panels, or sensors.
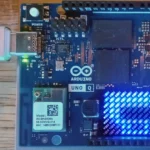
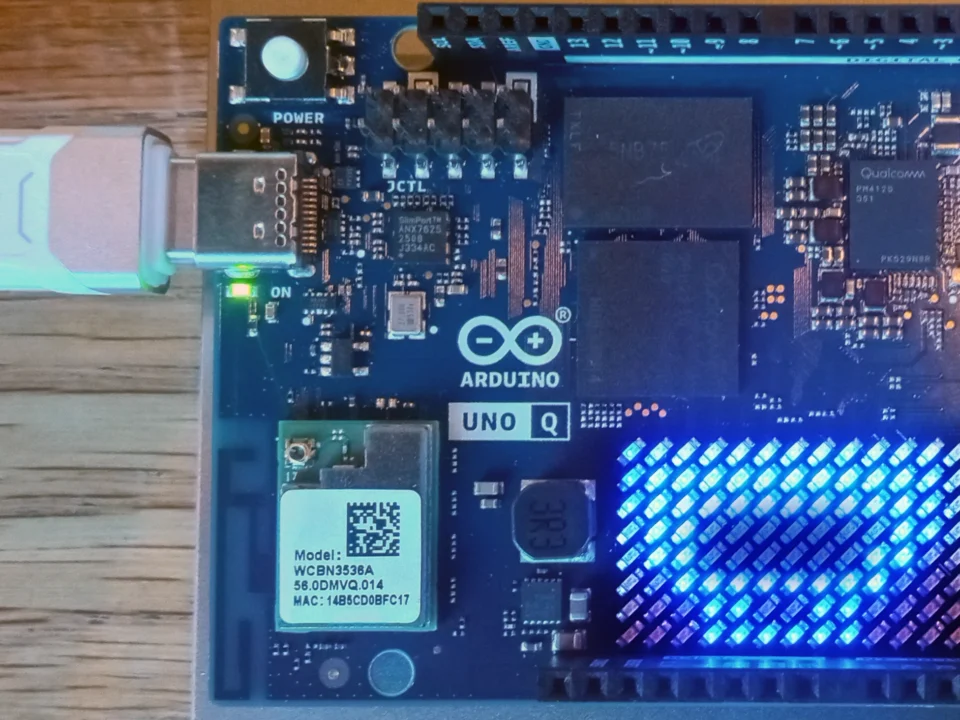
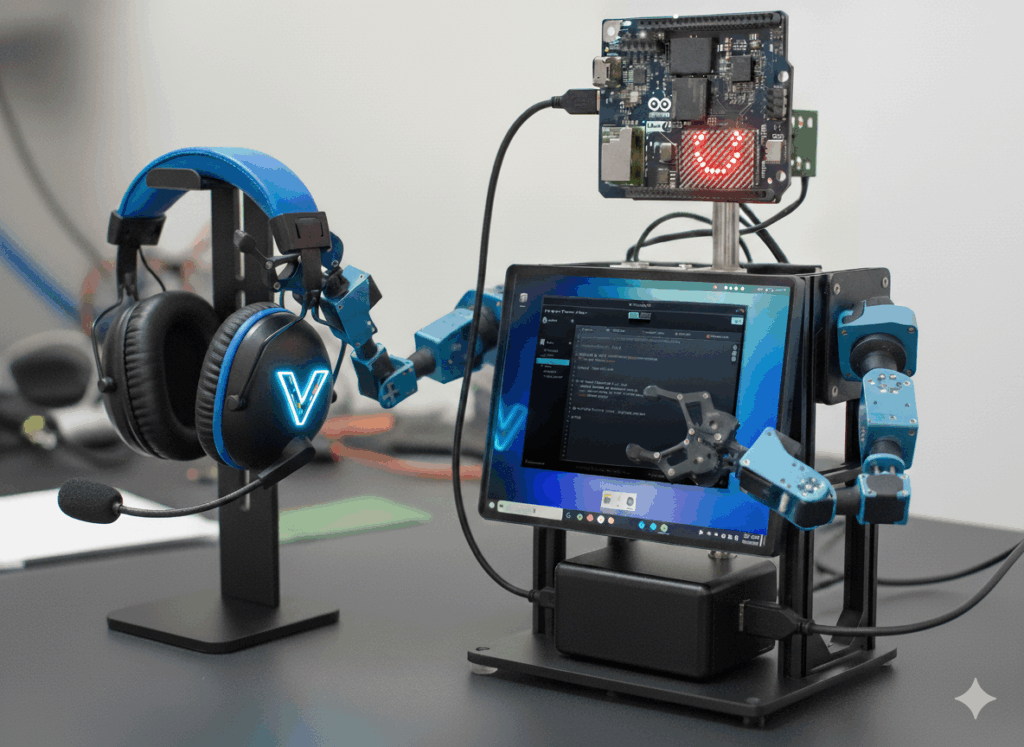
2. The Brain: Inspired by the Uno Q
This entire community project was developed to pioneer the Mind-Body Bridge. While the P³™ is technically hardware agnostic (supporting macOS, Linux, and SBCs), the design ethos centers on the VTM OS™ ecosystem.
The Face (Constant)
I recommend mounting one Uno Q permanently as the "Face." It handles the personality, voice sync, and basic sensors. It is always on, always watching.
The Lab (Variable)
Since the "Face" is busy, you need a second controller (Another Uno Q, Arduino, or ESP32) to actually prototype on. This mounts to the "Lab" section of the frame.
3. VTM P³™ Laboratory Standard - Bill of Materials
The following list constitutes the Official VTM P³™ Reference Spec. To ensure structural compatibility and stability with the VTM OS™ software, these specific components are recommended. (Prices as of Jan 30, 2026).
| Component | Spec | Price | Purchase Link |
|---|---|---|---|
| Main Towers (Y-Axis) | 2040 V-Slot (500mm) x4 | $26.99 | Buy on Amazon ⚠️ Order Qty: 2 (to get 4 rails) |
| Z-Axis Feet | 4040 V-Slot (400mm) x2 | $46.02 | Buy on Amazon |
| Base Crossbar | 4040 V-Slot (300mm) x1 | $35.82 | Buy on Amazon |
| Drawer Supports | 2040 V-Slot (400mm) x1 | $18.99 | Buy on Amazon |
| Top Rail (X-Axis) | 2020 V-Slot (300mm) x1 | $16.99 | Buy on Amazon |
| Fastener Kit | M5 T-Nuts & Screws (240pcs) | $12.99 | Buy on Amazon |
| Frame Brackets | 2020 L-Brackets (30 Sets) | $12.99 | Buy on Amazon |
4. Motion Hardware (The Muscles)
For the robotic kinematics, I use the LewanSoul LeArm. It features high-torque digital servos with anti-stall protection, making it significantly more durable than standard hobby kits. (Price as of Jan 30, 2026).
| Component | Spec | Price | Purchase Link |
|---|---|---|---|
| 6DOF LeArm Kit | Full Metal Body + 6x Digital Servos | $139.99 | Buy on Amazon ⚠️ Verified "Digital Servo" Version |
5. The Build Phases
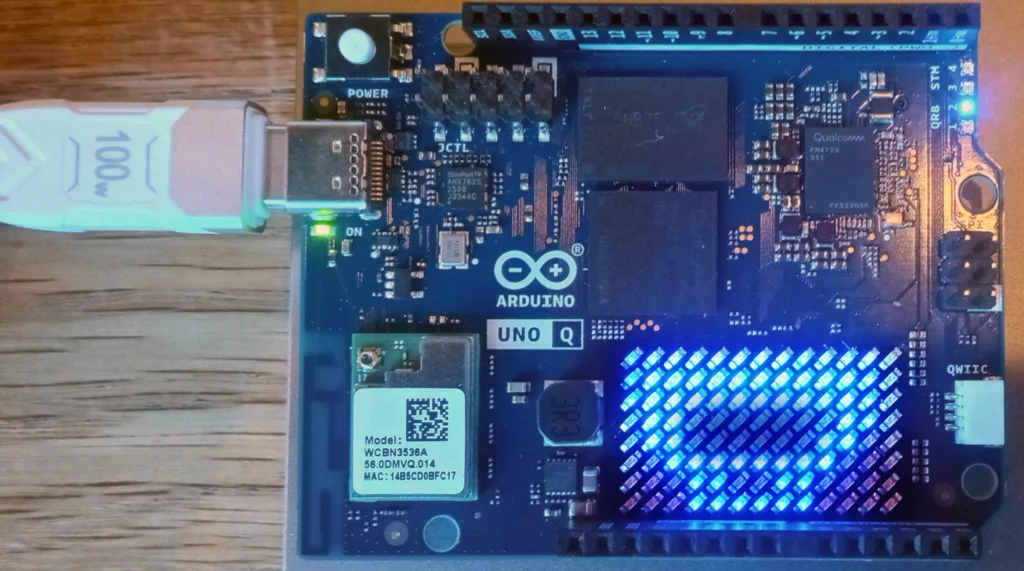
Phase 1: The Core. Start with just the head. The Uno Q features a built-in 13x8 LED Matrix (identical to the R4 WiFi), so you have a retro face ready to go immediately using the Mouth Animation Sketch. Use AI to write the animation code.
Phase 2: The Chassis. Repurpose the Ender 3. You can even build the P³ on top of an existing printer, creating a dual-purpose machine.
Phase 3: The Arms. Add manipulation when ready. Start with one arm, upgrade to two.
Phase 4: The Workbench. Add the 3D printed dual-drawer modules and rear enclosure.
6. Licensing
The VTM P³ Reference Design is released under Creative Commons Attribution-ShareAlike 4.0 (CC-BY-SA 4.0). You are free to share and adapt, provided you credit VideotronicMaker and share your improvements under the same license.
I am currently building a dedicated Amazon Affiliate page to make sourcing parts easier.
Until that link is active, please use the specifications listed above to start your build.


