The UNO Q: A Shift in Tools for the Creative Professional
October 16, 2025
Controlling the Arduino Uno Q with Python | VideotronicMaker
January 22, 2026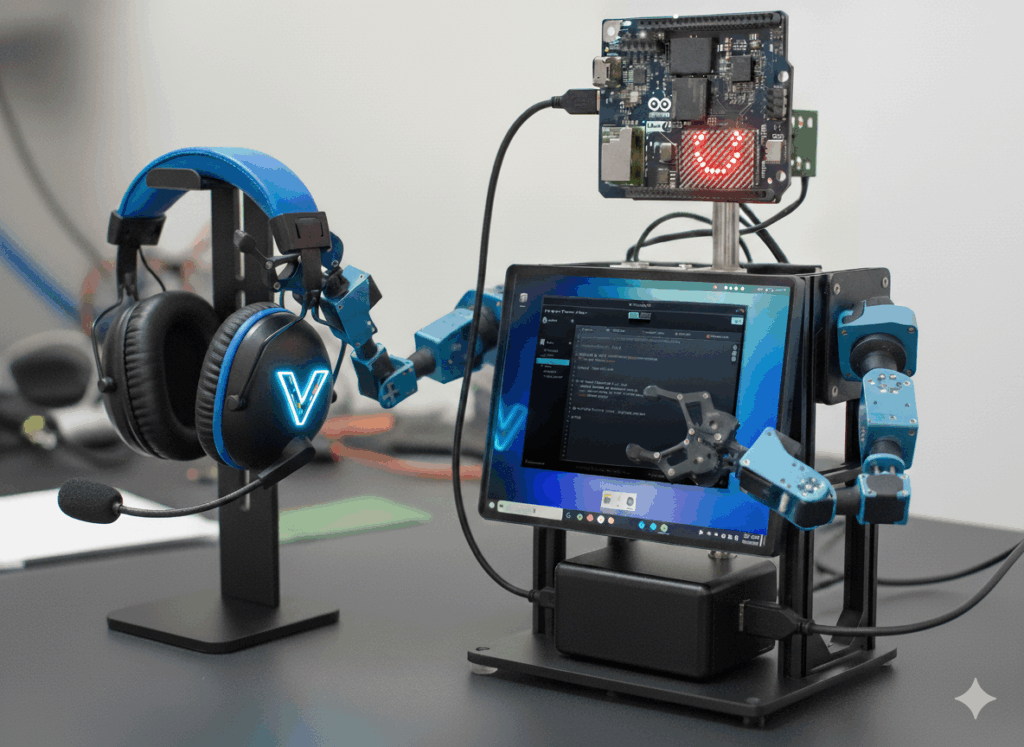
Arduino UNO Q Project: Desk Bot Concept & Comparison
UPDATE: This article was originally written as a concept study. Since publication, we have successfully validated this architecture on the actual Arduino Uno Q hardware. Arduino's 'Dual-Brain' system is now live and running on the VideotronicMaker OS. [See the verified System Architecture on GitHub].
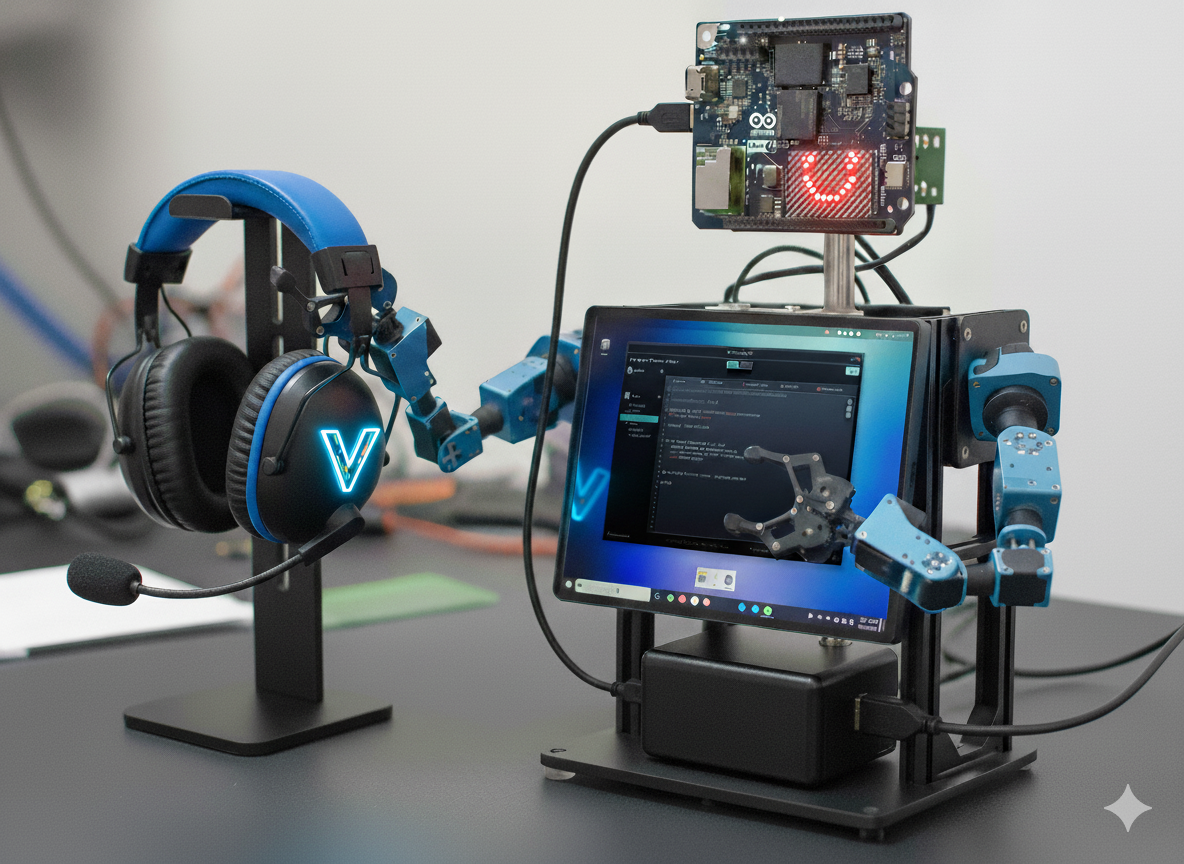
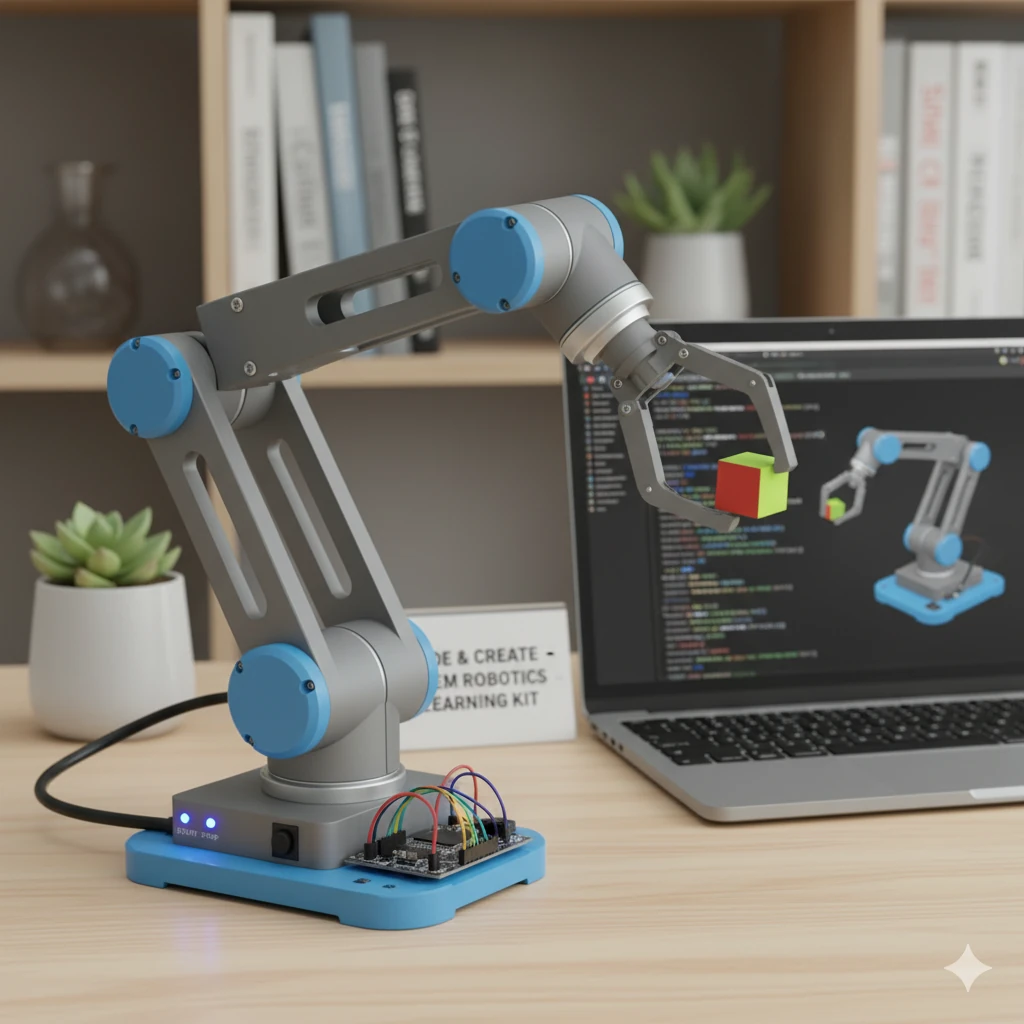
The Arduino UNO Q Desk Bot: Your AI-Powered Desktop Assistant.
You might be amazed at what this desk bot can do! This is an Arduino Uno Q project concept exploring the potential of the exciting new Arduino UNO Q.
Introduction: A New Board, New Questions
With the first Arduino UNO Q boards shipping now (around October 24th), the maker community is buzzing. While we'll soon be putting it through real-world tests, we can start brainstorming potential use cases based on the official specs.
Concept Image generated by Google Gemini NanoBananas
This often leads to comparisons with established platforms. It brings up a familiar dilemma: you buy a $50 Raspberry Pi, but after adding a case, keyboard, SD card, and fan, it becomes a precious mini-computer you hesitate to use for messy prototyping. For quick builds or riskier experiments, we often reach for a $4 Arduino Nano clone or a $4 Raspberry Pi Pico.
So, what will the Arduino UNO Q experience really be like? Will we feel comfortable prototyping with it? Will it primarily serve as a Linux computer? Does it need a fan? While the final answers await hands-on testing, exploring a hypothetical project can shed light on its potential.
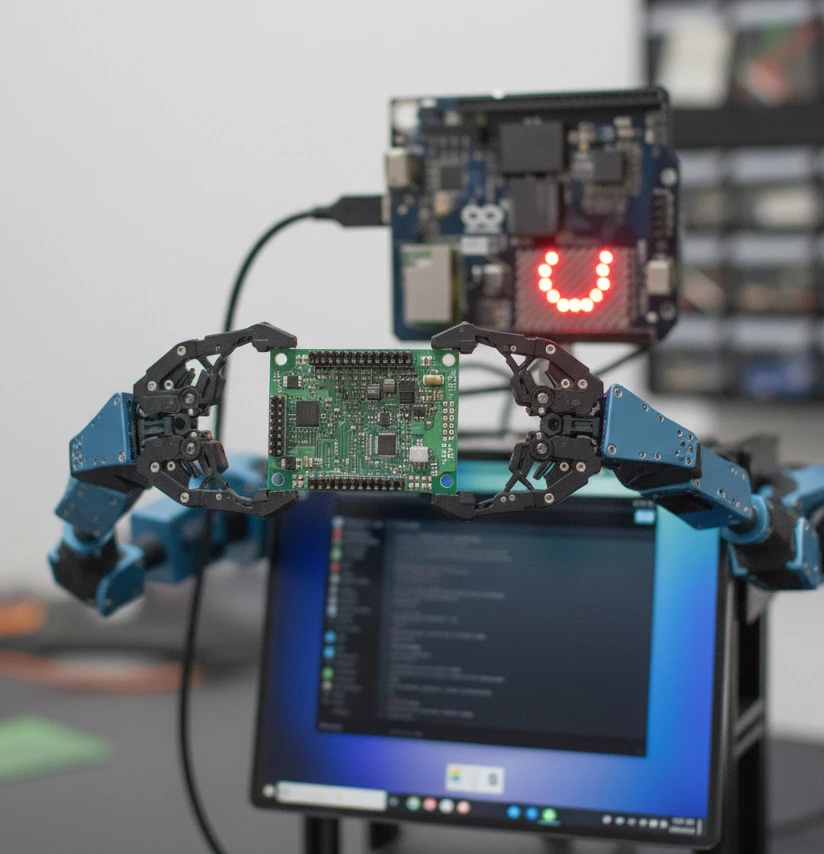
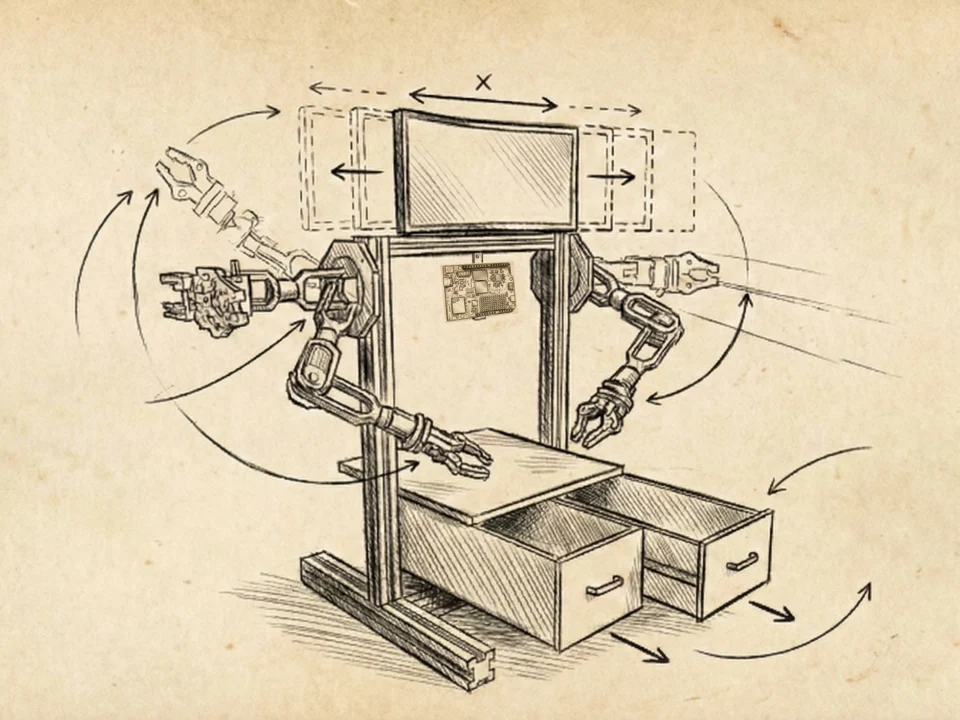
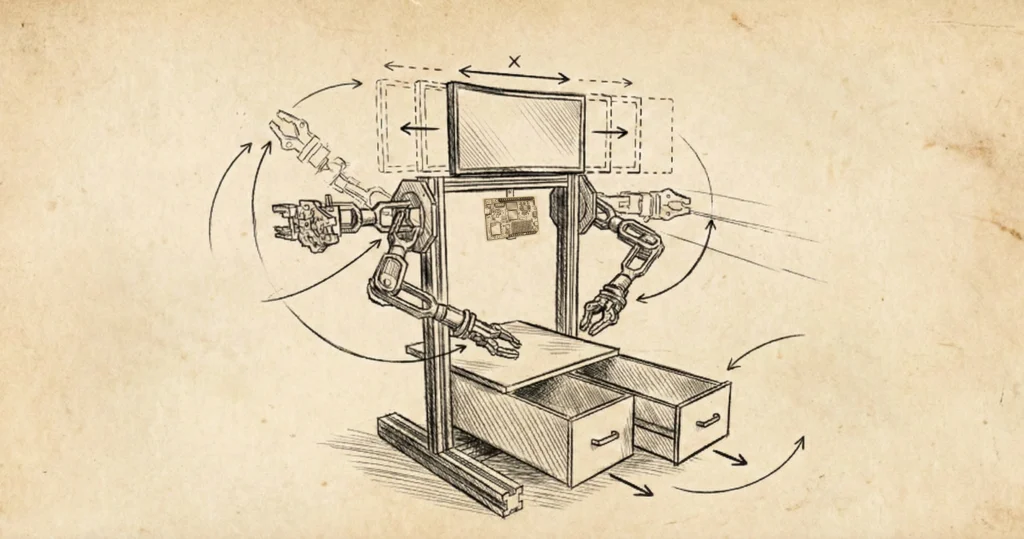
The Concept: An AI-Powered Desktop Robot Assistant ("Desk Bot")
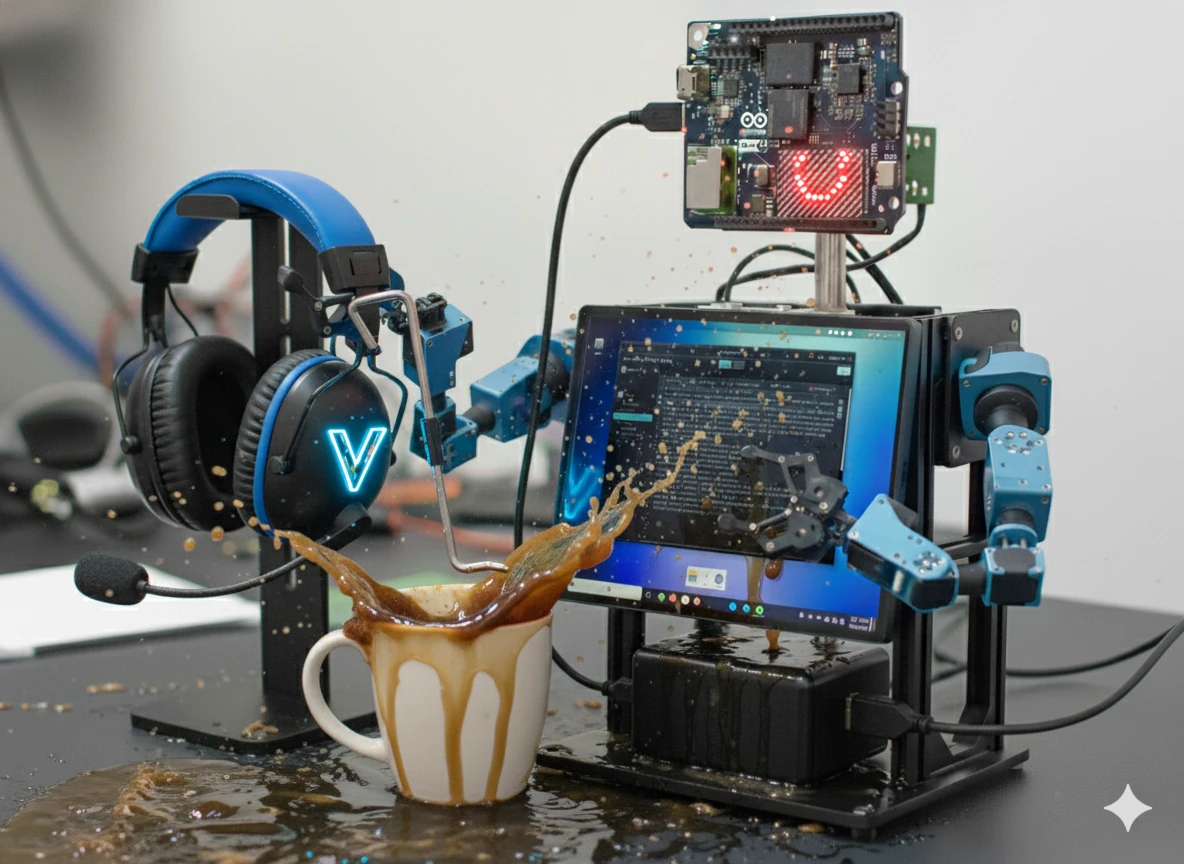
Let's imagine building a smart, desk-mounted robot torso with articulated arms. Its purpose isn't just to look cool; it's designed to be a functional workbench assistant. It needs:

🧠 Brain
An AI brain (LLM) for conversation and information retrieval (like datasheets).

👁️ Vision:
A camera for vision (e.g., identifying components).

💡 Mouth:
An animated mouth for visual feedback (perhaps the UNO Q's built-in LED matrix. If a motor shield is required this may not work).
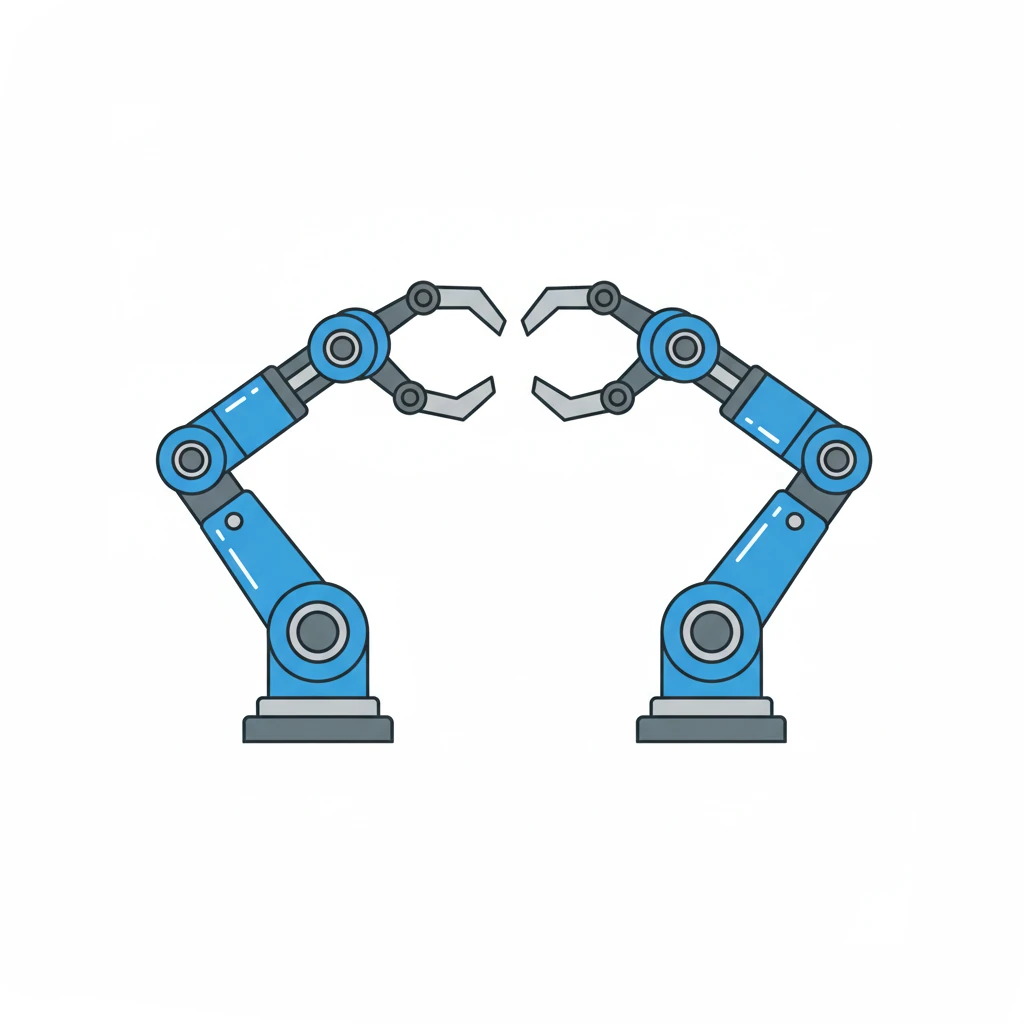
🦾 Arms:
Servo-controlled arms as "helping hands" (holding PCBs steady).
🖥 Display:
A touchscreen display for information and control.
This concept demands both high-level processing (AI, display, web access) and precise, real-time hardware control. How would the Raspberry Pi 5 (using the 2GB model for comparison) and the new Arduino UNO Q (2GB model) handle this challenge?
1. The AI Brain & Information Hub (LLM, Vision, Display)
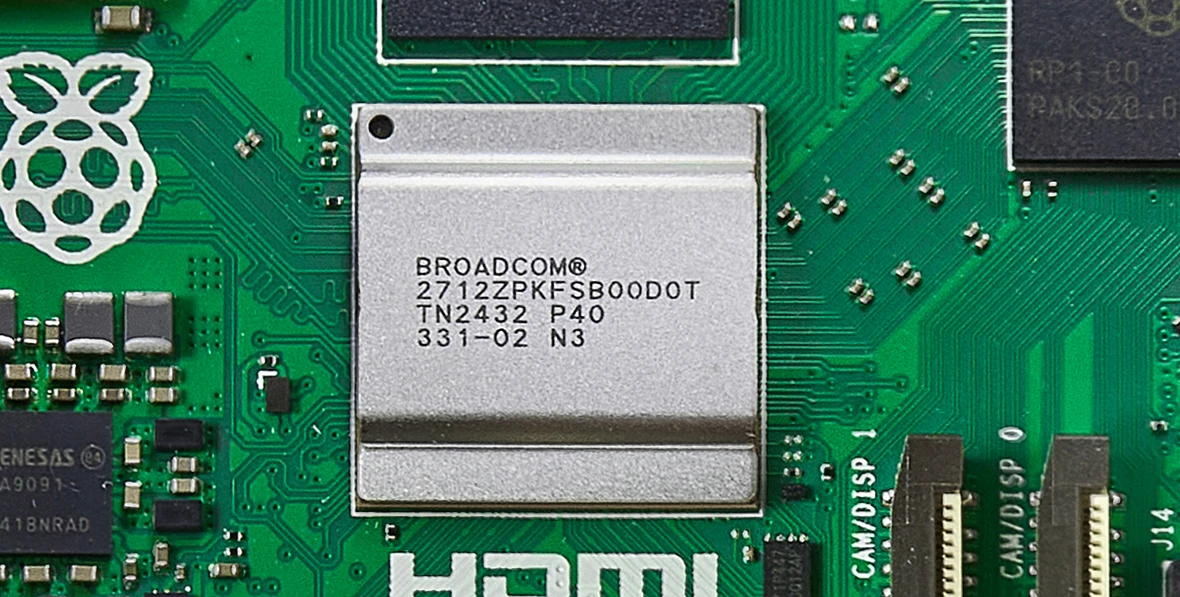
The Raspberry Pi 5 uses a Broadcom BCM2712, a 2.4GHz quad-core 64-bit Arm Cortex-A76 CPU
By © Anil Öztas, CC BY 4.0, https://commons.wikimedia.org/w/index.php?curid=162901180
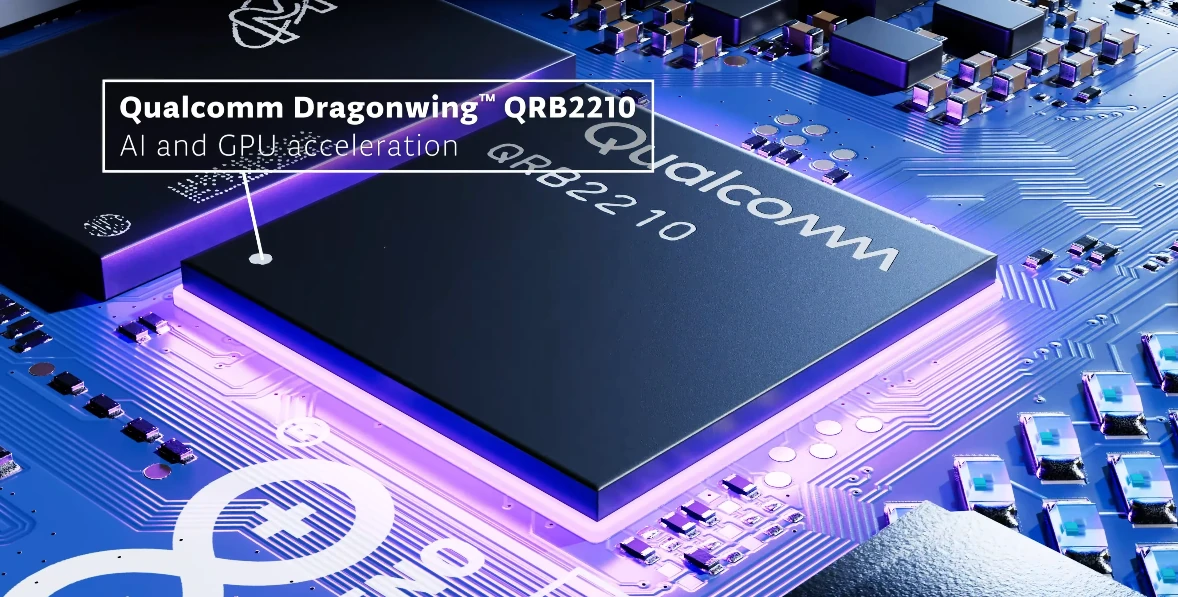
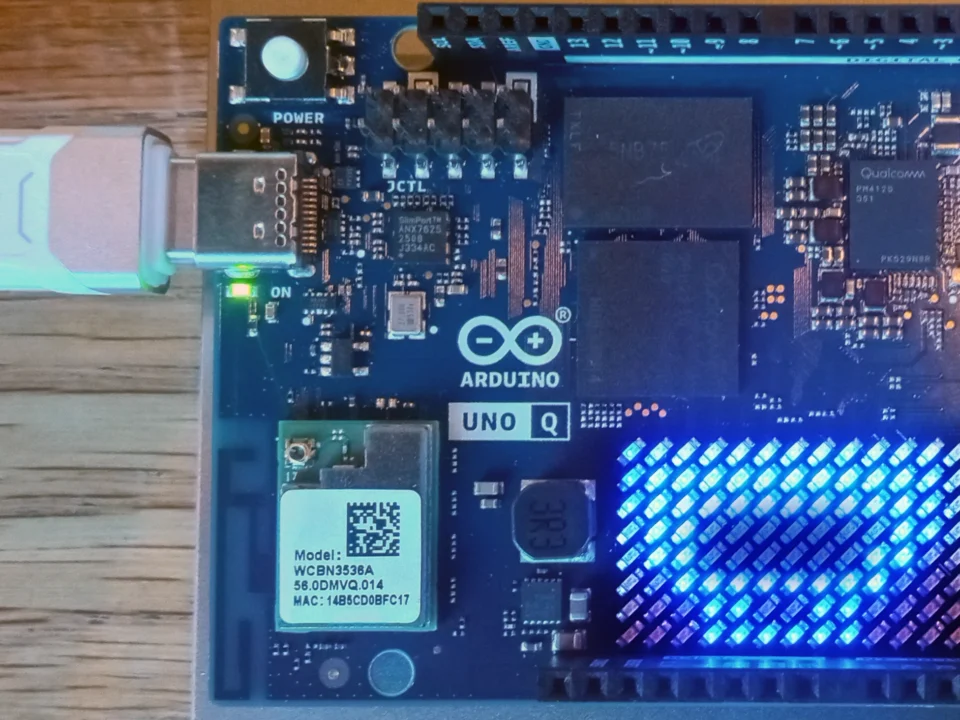
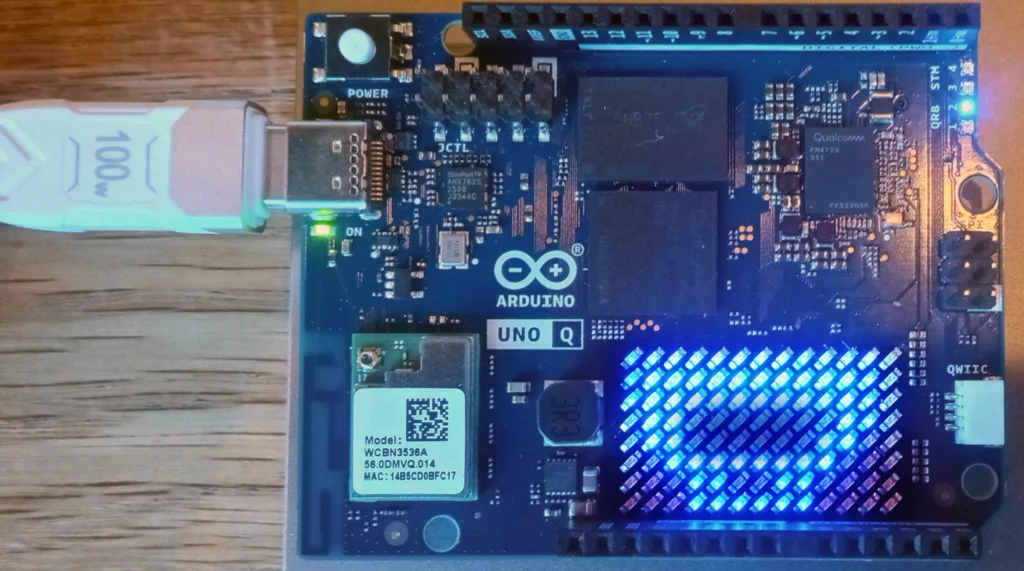
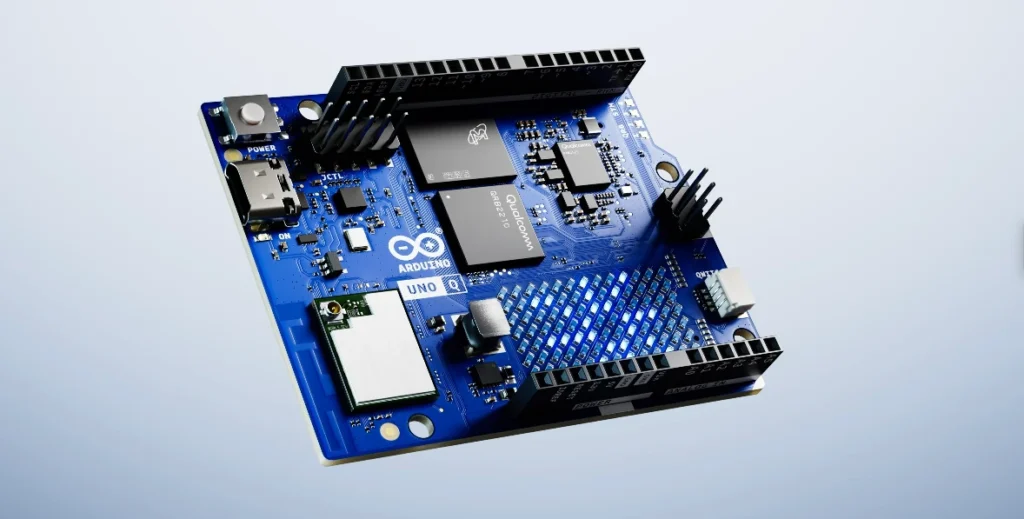
The Arduino Uno Q uses the Qualcomm Dragonwing™ QRB2210 Quad-core Arm® Cortex®-A53 @ 2.0 GHz. credit: Arduino
Raspberry Pi 5 (2GB):
Its faster Cortex-A76 CPU @ 2.4GHz provides the raw power needed for heavier local LLMs (like gemma via Ollama) or complex, general-purpose AI tasks. It connects easily to standard Pi cameras via its MIPI CSI port. Vision processing (using libraries like OpenCV) relies heavily on this powerful main CPU, although the Pi 5's improved ISP helps. Displaying schematics or web searches on a touchscreen via HDMI is straightforward. However, setting up the required software libraries demands manual installation and Linux expertise.
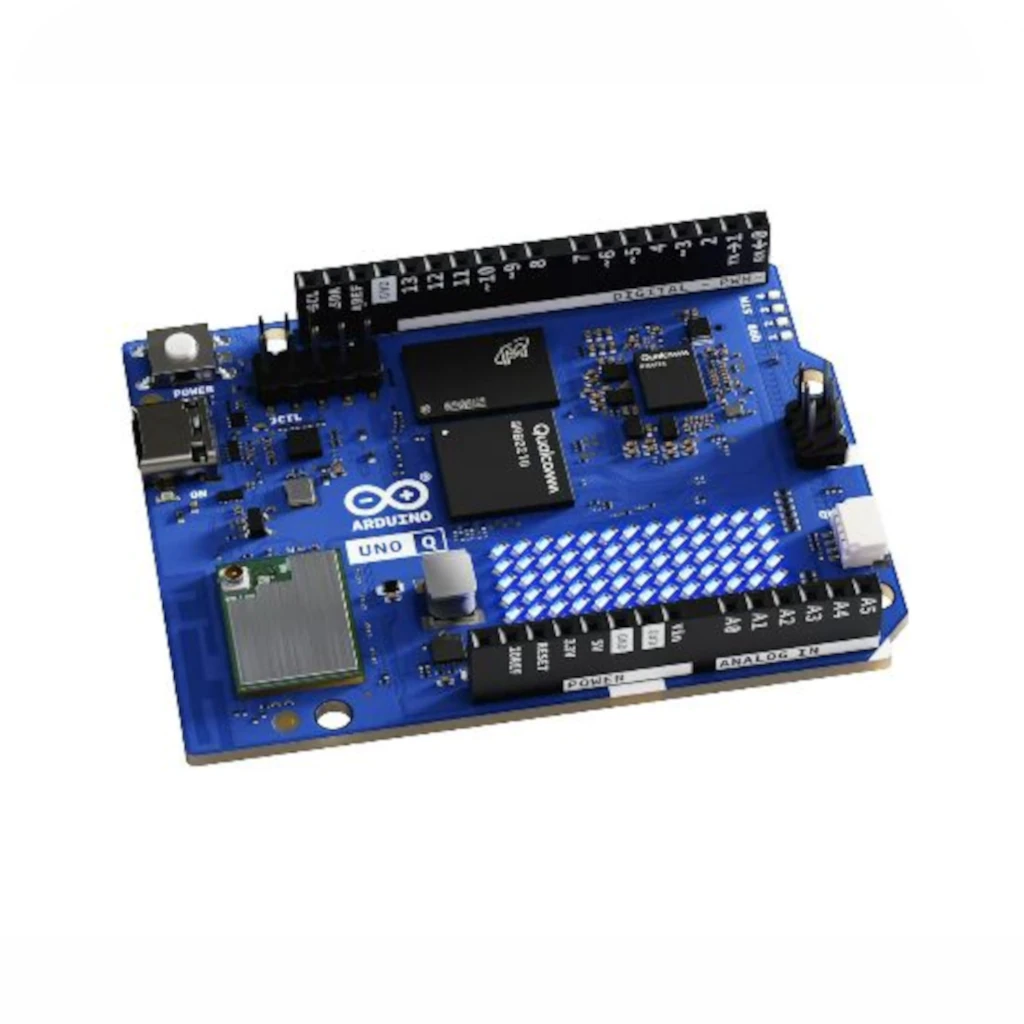
Arduino UNO Q (2GB):
The power-efficient Qualcomm® Cortex-A53 @ 2.0GHz is optimized for API-based LLMs like Google Gemini, making it ideal for cloud-connected AI. It connects to MIPI cameras via its JMEDIA high-speed connector. The key advantage lies in the Qualcomm chip's dedicated Dual ISPs, designed to handle raw camera data extremely efficiently, offloading the main CPU. Combined with the promise of Arduino App Lab "Bricks", this should enable optimized, efficient vision tasks (like component identification) with much simpler setup compared to the Pi. The Adreno GPU handles the touchscreen UI (via USB-C DisplayPort Alt-Mode) smoothly, and preloading reference data onto the onboard eMMC storage allows for instant access to schematics or pinouts.
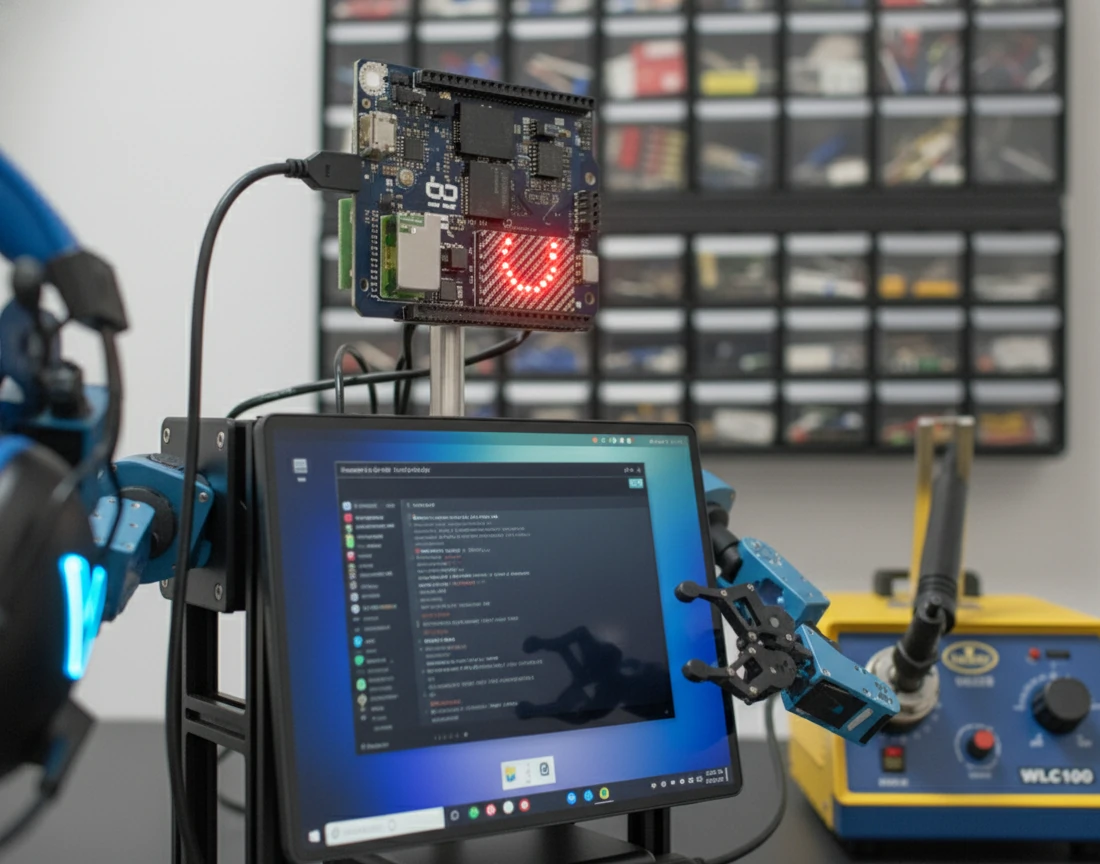
2. The Robot Body (Real-Time Control)
Raspberry Pi 5:
Attempting to control servos or rapidly update an LED matrix directly from a non-real-time OS like Linux inevitably leads to timing inconsistencies, causing servo jitter (unwanted twitching) and LED flicker or lag. The standard, reliable solution is complex: add a separate microcontroller (like a Raspberry Pi Pico), wire it to the Pi 5, and write custom communication code from scratch to bridge the two boards.
Arduino UNO Q:
This is where its integrated "dual brain" design can shine. The dedicated, real-time STM32 MCU should provide perfectly smooth, jitter-free servo control for the arms and seamless animation for the built-in LED Matrix. The Arduino Bridge software handles all the communication automatically and seamlessly between the Linux brain (running Python) and the real-time body (running an Arduino sketch). No extra hardware, wiring, or complex low-level communication coding is needed.
Concept Image generated by Google Gemini NanoBananas
3. Why the UNO Q's Processor Choice Makes Sense Her
The Qualcomm QRB2210 isn't just a "lesser" CPU; its design is intentional, prioritizing efficiency and integration for embedded tasks:
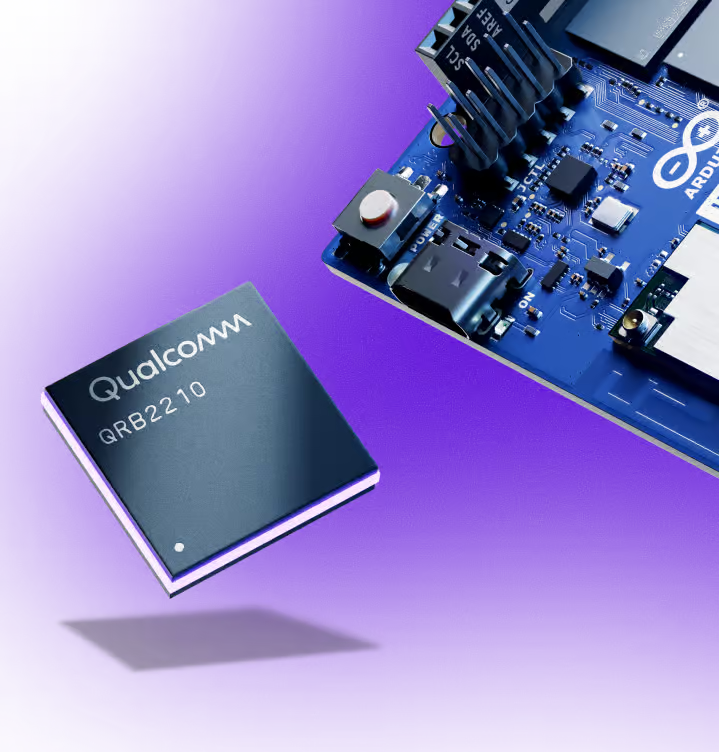
credit: Arduino
- 1W Power Envelope: This enables a fanless, quiet, potentially battery-powered bot – crucial for a device sitting on your desk.
- Optimized System: The CPU, GPU, and ISPs are designed by Qualcomm to work together efficiently. The power-sipping Cortex-A53 cores manage the AI logic and Bridge communication while the dedicated GPU/ISPs handle visuals and camera data, preventing bottlenecks and allowing smooth communication with the MCU.
image/photo credit: Arduino
Conclusion: Choosing Integration for Complex Builds
For this specific functional desktop assistant concept, the Arduino UNO Q's integrated system appears to be the more advantageous choice.
While the Pi 5 boasts more raw CPU power (better for heavy local AI), the UNO Q's seamless brain-to-body connection via the Bridge, built-in LED matrix, dedicated camera processors, and extreme power efficiency (thanks to the Qualcomm chip) promise to drastically simplify the development of such a complex, hybrid robot and better enable the desired desktop form factor.
Concept Image generated by Google Gemini NanoBananas
It’s a clear example of how choosing system integration and specialized hardware can be more effective than raw horsepower for sophisticated embedded projects. Of course, until the hardware is widely tested by the community, this remains speculation based on the specs. It will be fascinating to see what emerges!
Build Your Own Desk Bot: (Hypothetical) Parts List
Inspired to build something similar? Here’s a potential parts list based on the concept discussed. (Disclaimer: This is a hypothetical list for the concept. Specific component compatibility, especially for cameras and displays connecting via MIPI/USB-C Alt-Mode, will need verification once the UNO Q is widely available and tested by the community. Links are examples, not specific endorsements.)
Brain & Control
Arduino UNO Q (2GB)
$44
2GB RAM version recommended for multitasking Linux environment.
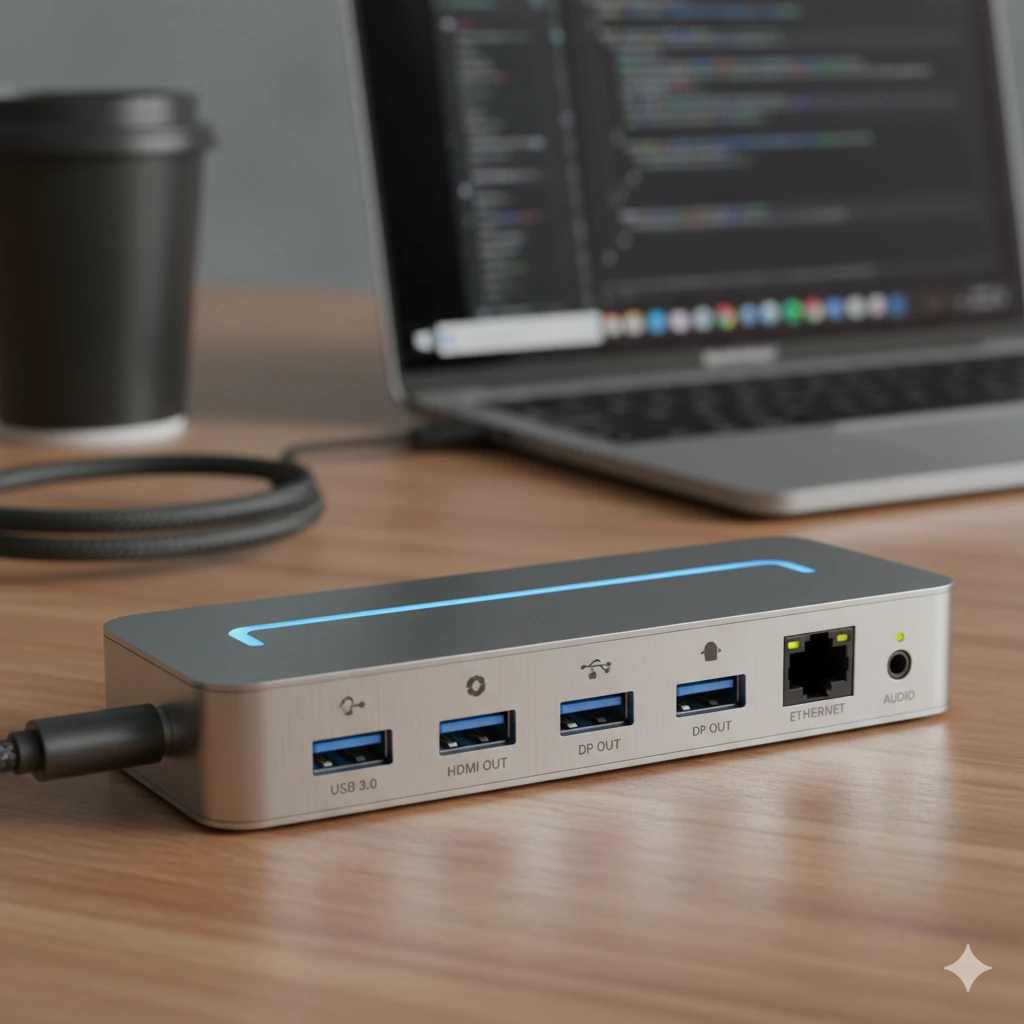
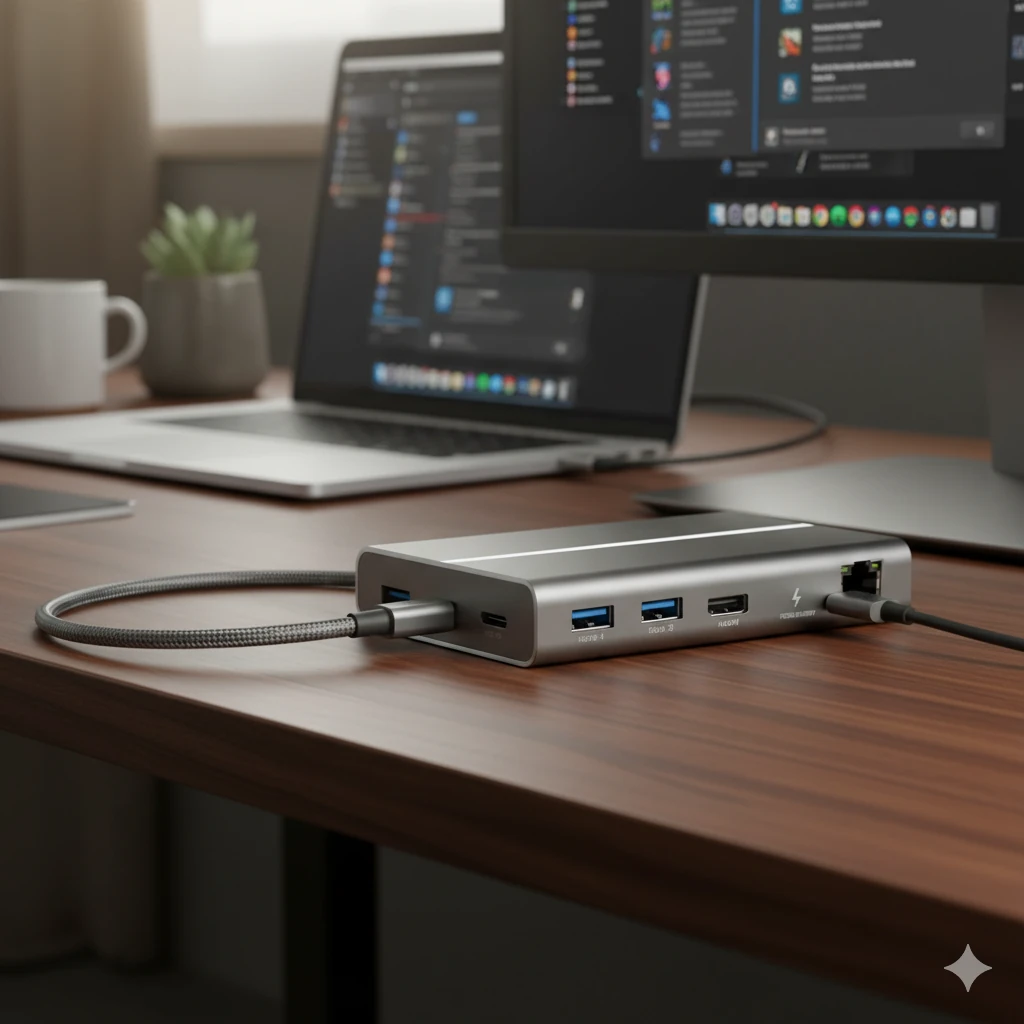
Docking/Hub
USB-C Dock with PD Passthrough & Video Out
~$48
MUST support Power Delivery input and DisplayPort Alt-Mode output.
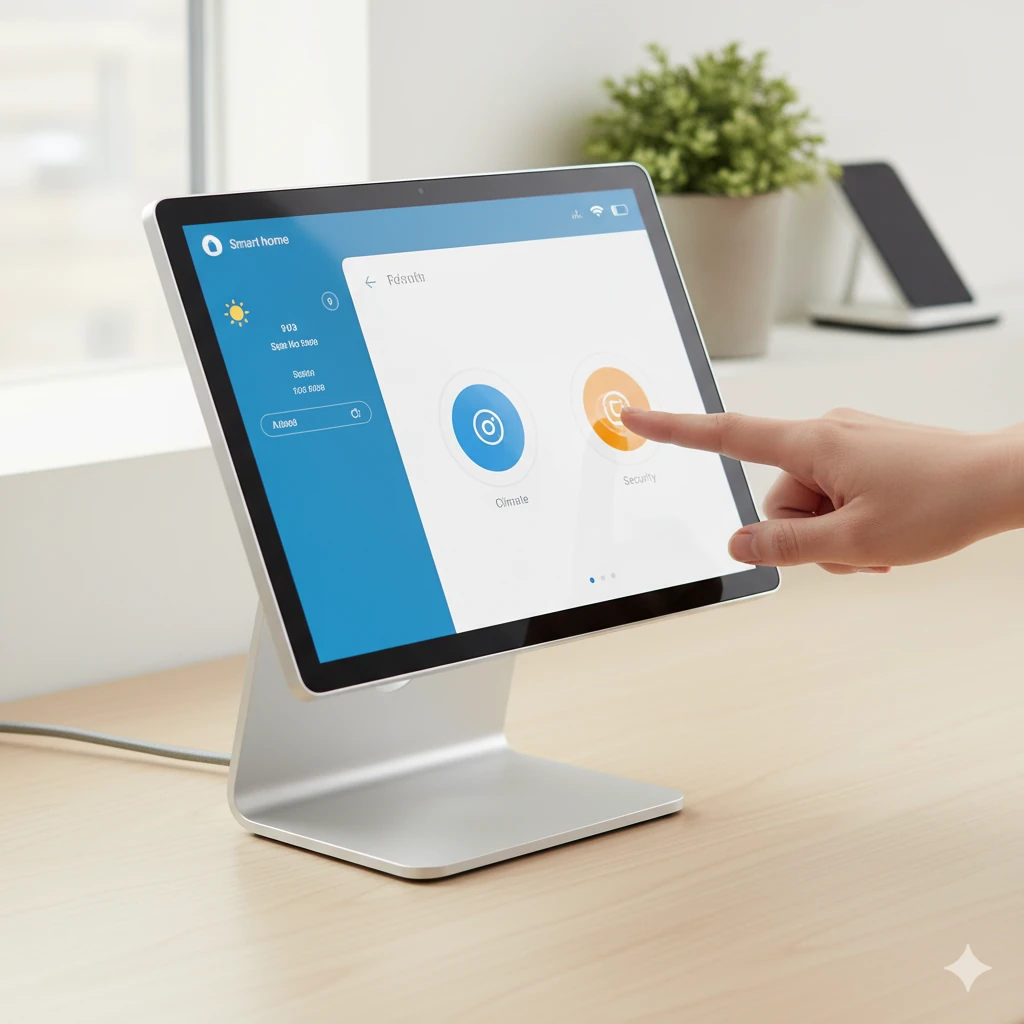
Display
~10 Inch HDMI/DisplayPort Touchscreen
~$56
Ensure compatibility with DisplayPort Alt-Mode via the USB-C Dock.
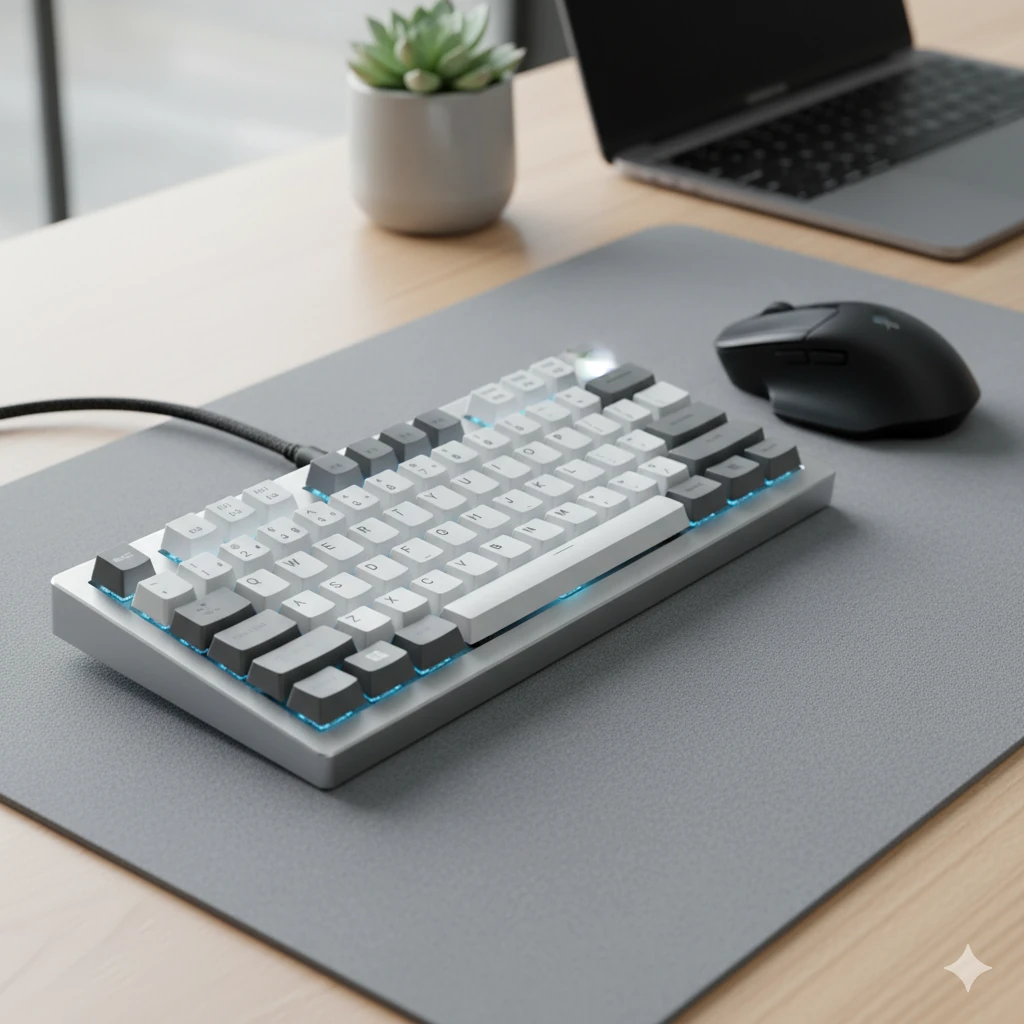
Input
USB Keyboard & Mouse
~$20-40
(Standard USB peripherals)
Power
USB-C Power Adapter with PD
~$15-25
Must support USB Power Delivery.
Arms
6DOF Hiwonder-xArm1S STEM Educational Building Robot Arm Kit
~$200 (x2)
Two arms recommended for stability/versatility. Load capacity ~500g per arm.
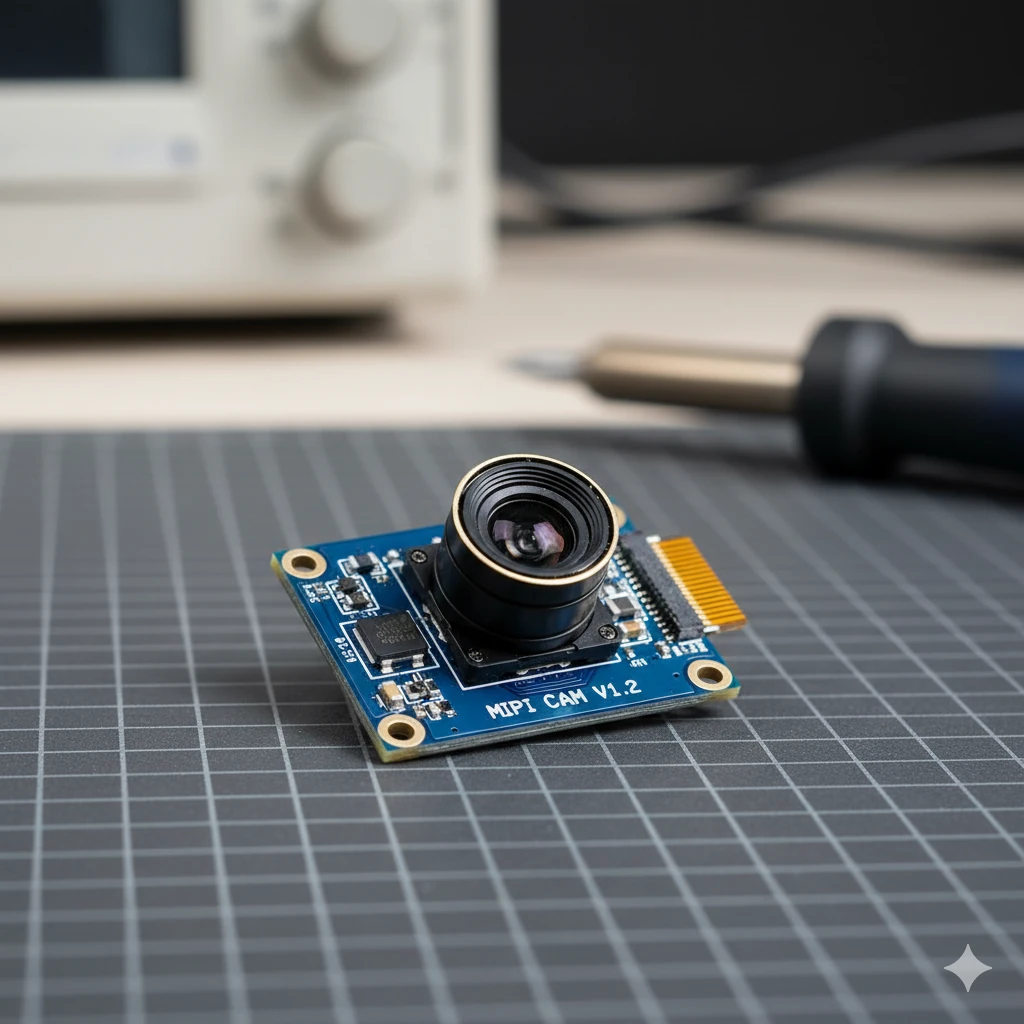
Vision
MIPI CSI Camera Module (requires testing with UNO Q JMEDIA port)
~$20-50
Needs verification for UNO Q compatibility and App Lab support.
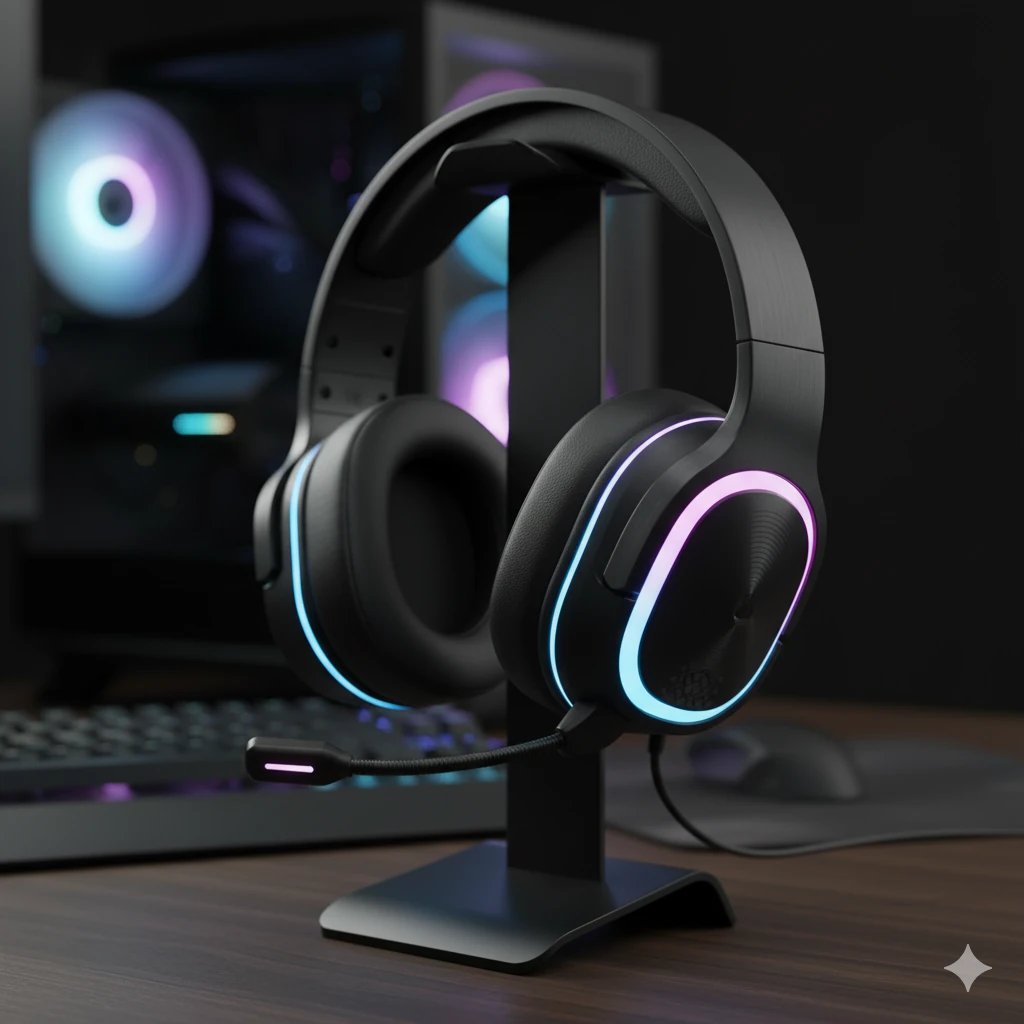
Audio I/O
Wireless Headset with Microphone
~$30
Combines microphone (input) and headphones (output). Can connect via Bluetooth 5.3 directly to UNO Q or via 3.5mm jack (likely through USB-C Dock).

Enclosure / Frame
T-Slot Aluminum Extrusion Kit (e.g., 2020)
~$50-80
Main structural frame: base, torso, and shoulder mounts for arms.
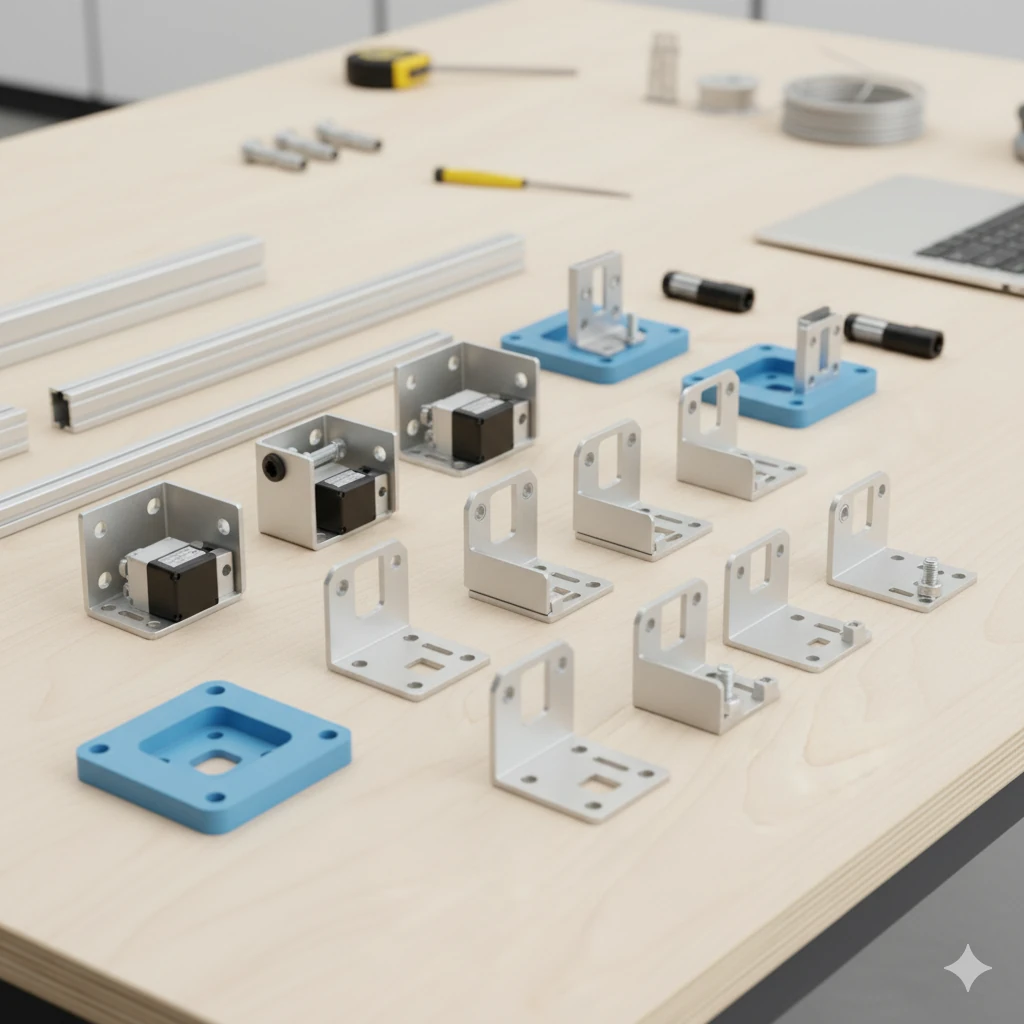
Metal Servo Brackets
To adapt robot arm bases to the T-slot frame.
~$Varies
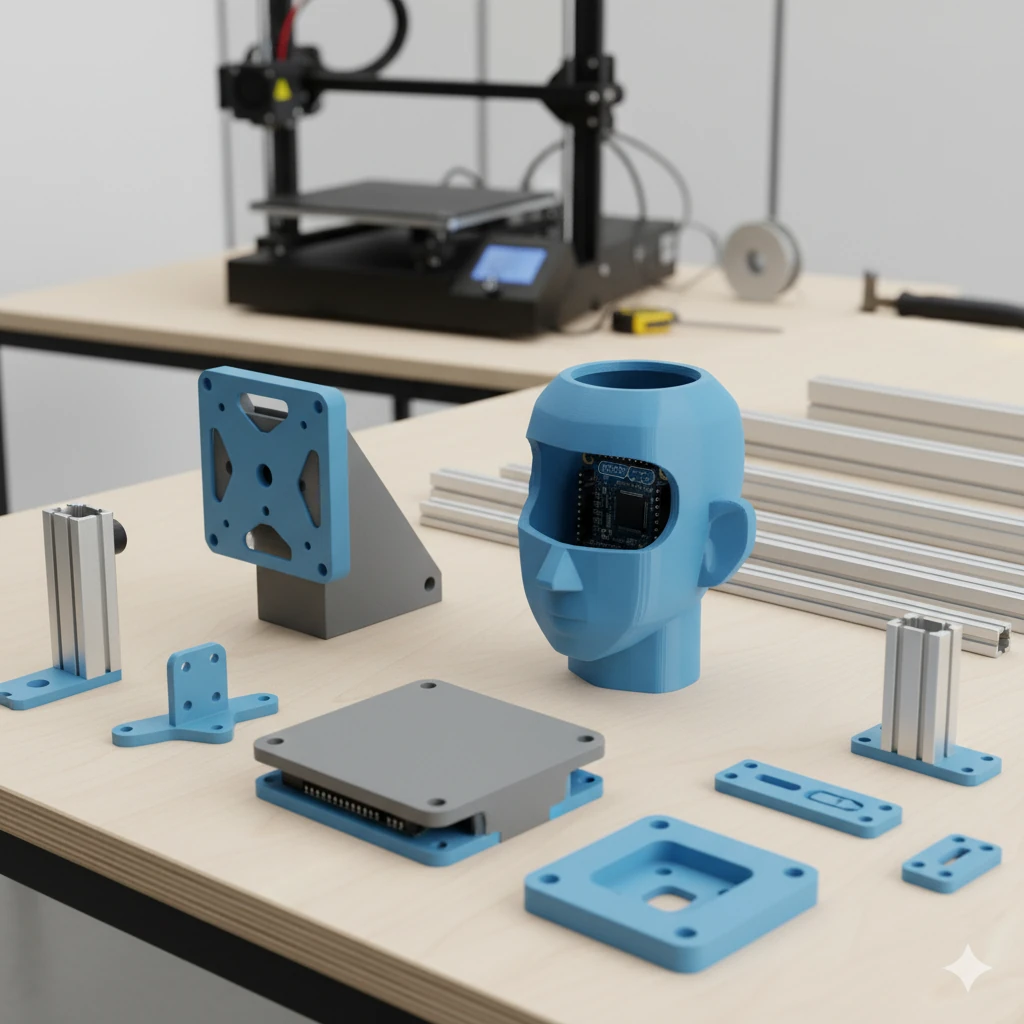
Custom 3D Printed Parts
Custom mounts for screen, Arduino head, USB hub, and aesthetic shell/covers.
~$Varies
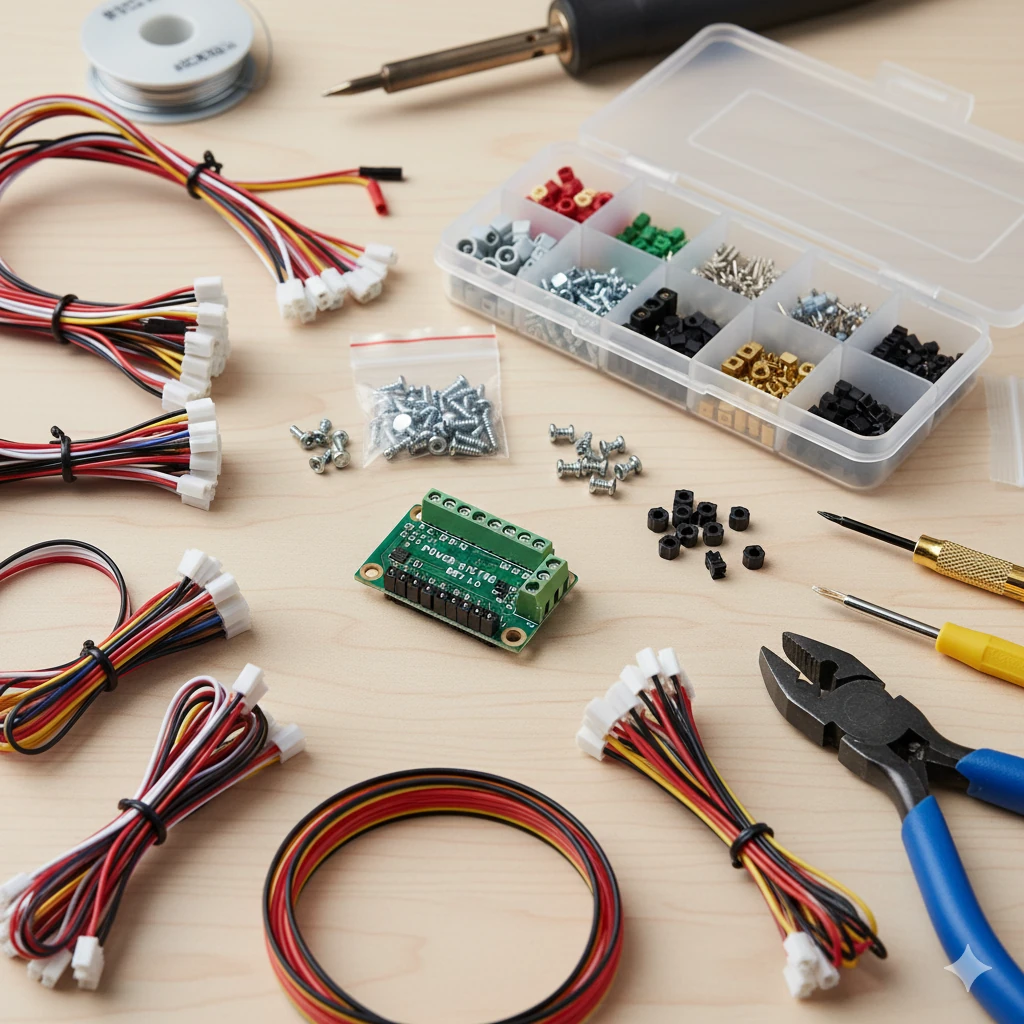
Misc.
Wires, connectors, fasteners, power distribution, arm end effectors
~$30-50
Servo extension cables, JST connectors, screws, maybe a custom PCB for power distribution.
This project is just one possibility unlocked by boards like the Arduino UNO Q. What would you build? Share your ideas in the comments below, and be sure to subscribe to the VideotronicMaker YouTube channel for future updates, tutorials, and maybe even a build log for this very Desk Bot if the opportunity arises!
Disclaimer
Please note that Google Gemini was used to assist in editing the text for this article.
All images in this article were generated by Google Gemini, with the exception of the Uno Q product images.
This article presents an early, hypothetical project suggestion. The parts listed and depicted are for illustrative purposes and may not be accurate representations.


2 Comments
Looks amazing!
Thank you!