

Skills Practice
Python
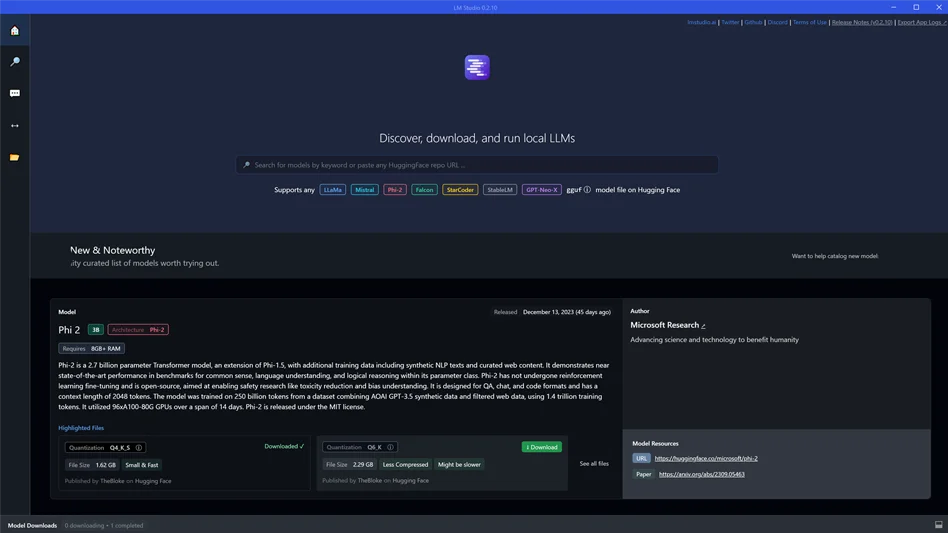
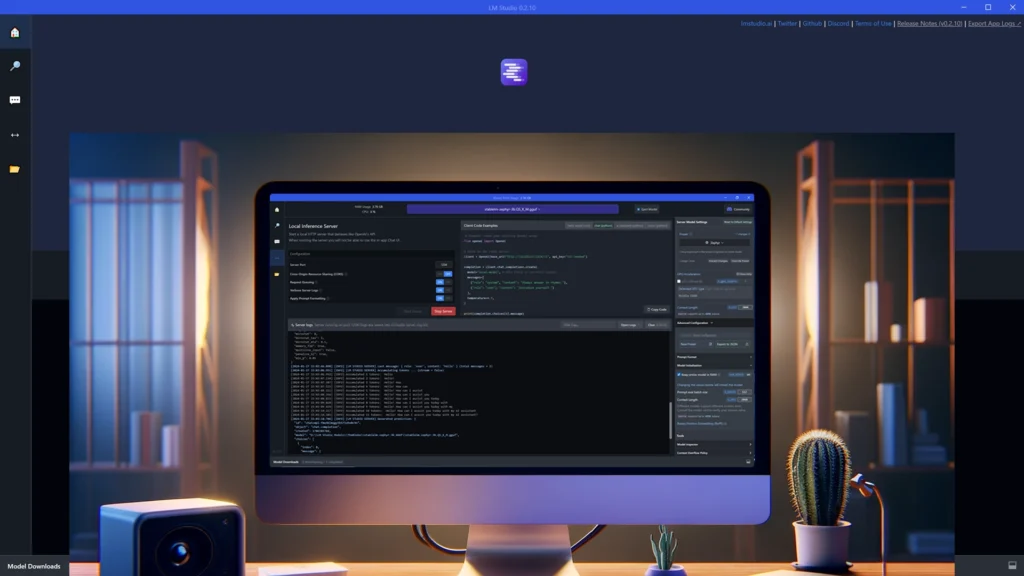
LM Studio
Text to Speech
Speech to Text
Project Syopsis
Natural language Processing Upgrade Using Free Google Text to Speech API
In the previous video, I tackled the challenge of setting up a local inference server for large and small language models using LM Studio, a tool designed for downloading open-source models from Hugging Face. Despite encountering some hurdles along the way and with a lot of help from GPT 4 which I will refer to as Spark going forward, I managed to get my local server up and running and add text to speech using the Microsoft Voice packages. However, the Microsoft Voice package has an outdated, robotic-sounding output. In this video, I'm upgrading and exploring the implementation of the Google Voice API to infuse my LLMs with a more natural and expressive voice; better natural language processing.
Software
Already in OS
Review
Finding the Best TTS Option for Your System

I wanted to use an open source model for TTS (Text to Speech.) I considered a few. Bark Small, Tortoise. Coqui, MetaVoice and OpenVoice. To my knowledge, with the exception of Bark and Tortoise, the basic problem I had was that Coqui, MetaVoice and OpenVoice won't work on my system or yours if you have an older graphics card with less than 3-4gb of VRAM. I don’t believe they run on CPUs. I tried updating my CUDA version but that was unsuccessful. So, I went back to Bark which seemed promising. I'm also considering going back to Tortoise.
I stopped looking at Tortoise because the developer of Tortoise said, ” It's called tortoise for a reason.” It's really slow. It takes a long time to generate speech. So that's why I stopped looking at it.
I spent a whole day going through each and troubleshooting and it was difficult. At the end I considered giving Bark a shot again but instead I decided to go with my original option when I first started brainstorming with Spark. I originally wanted to use Vertex AI and the Google Cloud Voice API, but when we first brainstormed Spark pointed out that it was going to cost money. I wanted a free method and that's why I ended up going to Hugging Face and GitHub and tried to find something open source.

Google Cloud
Now, the technology is not new but it’s new to me. I didn't start thinking about TTS until Chat GPT added the voice conversation feature.
I've never been into Siri, Alexa or Google Assistant. That's never been my thing. It wasn't functional enough for me to take that step of speaking to a device. I thought it was was weird when I saw people saying, "hey Siri." I must admit, I judged them. I thought, “What? What are you doing man? That's just weird!” I did a little speech to text in telephone text messaging but wasn't into it. Now I am.
I'm looking at Google's products and I'm looking at the technology. As I went back into Google Cloud I realized that there's a lot of good stuff in there. It's such a rich environment. There's so many useful tools and a lot that's free.
I first started using Analytics and the cloud UI back around 2014 but it was confusing and boring to me. Now, it’s exciting and fascinating!
The Google Cloud option for TTS requires an Internet connection. However, I discovered a few things, one of which was that Google Cloud Text-to-Speech has different tiers in the voice API. Studio, Neural2 and WaveNet voices are higher quality voices with different pricing.
"Text-to-Speech is priced based on the number of characters sent to the service to be synthesized into audio each month. You must enable billing to use Text-to-Speech, and will be automatically charged if your usage exceeds the number of free characters allowed per month. For information about how to keep track of your character totals, see Monitoring API usage. Price is calculated per character."
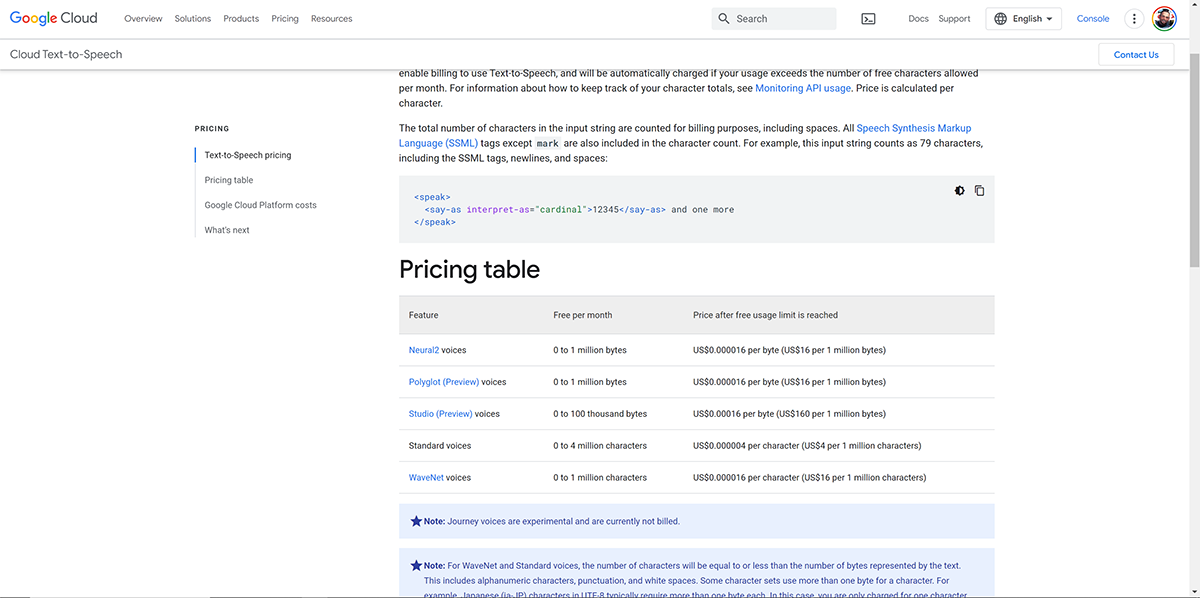
Basically, when you enable billing you can still have access to free usage and potentially never be charged. This hinges on the condition that you never exceed the limits of the free tier. I believe this is very possible.
Standard
Furthermore, Google has a category of voices called “Standard” and those are significantly lower in price. They are four times cheaper, maybe even more.
Here's two samples:
Voice: EN-GB-Standard-C
Voice: EN-GB-Standard-C
Voice: EN-GB-Standard-D
Journey
But then I found out that they have a category called “Journey.” Now there's only two voices in that category, but those voices are pretty good and the Journey category is free. I’m using Journey. You need the inter-web but I believe your data is safe because all Google gets is the llm's response... I hope. For now. I'm going with the Google cloud Text-to-Speech option.
Voice: EN-US-Journey-D
Voice: EN-US-Journey-F
The Upgrades
Here’s some of the new items in this new code.
I have built upon the concepts in the previous tutorial.
Google Text to Speech
Upgraded NLP
This speak function is where you add or change the Google Voices. It takes a text string as input and converts it into an audio file using the Google Cloud Text-to-Speech API. The audio file is then played using the playsound() function.
You can choose voices here and this is where you need to put in female or male.
# Define a function to synthesize and speak text
def speak(text, sample_rate_hertz=16000):
    # Set up the text request
    synthesis_input = texttospeech.SynthesisInput(text=text)
    # Configure the voice parameters
    voice = texttospeech.VoiceSelectionParams(
        language_code="en-GB",
        name="en-GB-Neural2-A",
        ssml_gender=texttospeech.SsmlVoiceGender.FEMALE
    )
    # Configure the audio output format
    audio_config = texttospeech.AudioConfig(
        audio_encoding=texttospeech.AudioEncoding.MP3,
        sample_rate_hertz=sample_rate_hertz
    )
    # Perform the text-to-speech request
    response = client.synthesize_speech(
        input=synthesis_input,
        voice=voice,
        audio_config=audio_config
    )
    # Save the output to an MP3 file and play it
    with open("temp_output.mp3", "wb") as out:
        out.write(response.audio_content)
    audio = AudioSegment.from_mp3("temp_output.mp3")
    play(audio)
Latency Enhancement
Optimized Audio for Speed
I also tried to speed up the generation of the audio file and so I added the ability to change the sample_rate_hertz parameter in the Google Voice processing of the audio file that google creates to play the voice. I’m just guessing that this helps. There is a difference but I’m not using it for broadcast production or worldwide distribution.
Here is what 8000 hz sounds like:
And here is what 48000 hz sounds like.
I’m using 16000 hz.
def speak(text, sample_rate_hertz=16000):
That was 1 more attempt to speed up the conversation and maybe save a little money. I also added the ability to change that in the initial message variable and speak function.
# Define the initial greeting message
initial_message = "Welcome to a new episode of Videotronic Maker, This is KITT, his personal A.I. assistant. I exist in the home PC of Videotronic Maker and I am locally run via LM Studio. LM Studio is a software company located in Brooklyn, New York, so it's fair to say that Brooklyn is in the house! Learn with Videotronic Maker as he learns!"
speak(initial_message, sample_rate_hertz=16000)  # Speak the initial greeting message
Variable to set max tokens
The short answer
I included the option to force the model to keep it's responses to a maximum of 150 tokens. You can set it to any number you like or just comment it out. I must admit that this worked fine at first but I started to notice that the llm didn't follow this variable. I will continue working on this in the future.
# Set max response tokens for AI conversation
    max_response_tokens = 150
Variable to say, "bye"
The Short Goodbye
I added a farewell response because I found that when I tried to end the conversations, the model would try to have the last word and just ramble and eat up tokens and I don't want that. It needs to just end.
# Check for exit conditions
    if input_text.lower() in ['exit', 'bye', 'end']:
        farewell_response = "Goodbye sir!"
        print(f"{colors['magenta']}KITT:{colors['reset']} {farewell_response}")
        speak(farewell_response)
        exit()
The Code
kitt_g_voice.py
# Import necessary libraries
import warnings          # Import warnings module to suppress warnings
import pyaudio           # Import pyaudio library for audio I/O
import wave              # Import wave module to read and write WAV files
import whisper           # Import whisper library for audio transcription
import openai            # Import openai library for AI-based conversation
import keyboard          # Import keyboard library for detecting key presses
import os                # Import os module for system operations
import tkinter as tk     # Import tkinter library for GUI dialogs
from tkinter import simpledialog  # Import simpledialog from tkinter for user input dialog
from google.cloud import texttospeech  # Import texttospeech module from google.cloud
from playsound import playsound        # Import playsound function for playing audio files
from pydub import AudioSegment         # Import AudioSegment class from pydub
from pydub.playback import play       # Import play function from pydub for audio playback

# Initialize Google Cloud Text-to-Speech client
client = texttospeech.TextToSpeechClient()

# Define ANSI escape sequences for text color
colors = {
    "blue": "\033[94m",     # Blue color for VTM messages
    "orange": "\033[93m",   # Orange color (unused)
    "yellow": "\033[93m",   # Yellow color for ready message
    "white": "\033[97m",    # White color (unused)
    "red": "\033[91m",      # Red color for stopping recording message
    "magenta": "\033[35m",  # Magenta color for KITT messages
    "green": "\033[32m",    # Green color for start recording message
    "reset": "\033[0m"      # Reset color
}

# Filter out FP16 warning messages
warnings.filterwarnings("ignore", message="FP16 is not supported on CPU")

# Set up OpenAI API
openai.api_base = "http://localhost:1234/v1"  # Set the API base URL
openai.api_key = "not-needed"                  # Set the API key (not needed for local model)

# Load whisper model for audio transcription
whisper_model = whisper.load_model("tiny")  # Load the whisper model

# Define audio parameters
FORMAT = pyaudio.paInt16  # Set audio format to 16-bit PCM
CHANNELS = 1               # Set number of channels to mono
RATE = 8000                # Set sample rate to 8000 Hz (originally 16000 Hz)
CHUNK = 1024               # Set chunk size for audio I/O

# Initialize PyAudio instance
audio = pyaudio.PyAudio()

# Define a function to synthesize and speak text
def speak(text, sample_rate_hertz=16000):
    # Set up the text request
    synthesis_input = texttospeech.SynthesisInput(text=text)
    # Configure the voice parameters
    voice = texttospeech.VoiceSelectionParams(
        language_code="en-GB",
        name="en-GB-Neural2-A",
        ssml_gender=texttospeech.SsmlVoiceGender.FEMALE
    )
    # Configure the audio output format
    audio_config = texttospeech.AudioConfig(
        audio_encoding=texttospeech.AudioEncoding.MP3,
        sample_rate_hertz=sample_rate_hertz
    )
    # Perform the text-to-speech request
    response = client.synthesize_speech(
        input=synthesis_input,
        voice=voice,
        audio_config=audio_config
    )
    # Save the output to an MP3 file and play it
    with open("temp_output.mp3", "wb") as out:
        out.write(response.audio_content)
    audio = AudioSegment.from_mp3("temp_output.mp3")
    play(audio)

# Define a function to read content from a file
def read_file_content(file_path):
    try:
        with open(file_path, "r") as file:
            return file.read().strip()
    except FileNotFoundError:
        print("File not found.")
        return None

# Initial greeting message
system_message = read_file_content("system_message.txt")
if system_message is None:
    exit()  # Exit if system message file not found

# Define the initial greeting message
initial_message = "Welcome to a new episode of Videotronic Maker, This is KITT, his personal A.I. assistant. I exist in the home PC of Videotronic Maker and I am locally run via LM Studio. LM Studio is a software company located in Brooklyn, New York, so it's fair to say that Brooklyn is in the house! Learn with Videotronic Maker as he learns!"
speak(initial_message, sample_rate_hertz=16000)  # Speak the initial greeting message

# Define a function to record audio
def record_audio():


    # Open the audio stream for recording
    stream = audio.open(format=FORMAT, channels=CHANNELS, rate=RATE, input=True, frames_per_buffer=CHUNK)
    print(f"{colors['green']}Start speaking... (Press 'N' to stop){colors['reset']}")
    frames = []

    while True:
        data = stream.read(CHUNK)
        frames.append(data)
        if keyboard.is_pressed('n'):
            print(f"{colors['red']}Stopping recording.{colors['reset']}")
            break

    stream.stop_stream()
    stream.close()

    # Write the recorded audio to a WAV file
    wf = wave.open("temp_audio.wav", 'wb')
    wf.setnchannels(CHANNELS)
    wf.setsampwidth(audio.get_sample_size(FORMAT))
    wf.setframerate(RATE)
    wf.writeframes(b''.join(frames))
    wf.close()

    return "temp_audio.wav"

# Define a function to get user input via GUI dialog
def get_user_input():
    ROOT = tk.Tk()
    ROOT.withdraw()
    user_input = simpledialog.askstring(title="Text Input", prompt="Type your input:")
    return user_input

# Define a function to process user input
def process_input(input_text):
    # Construct conversation messages
    conversation = [
        {"role": "system", "content": system_message},
        {"role": "user", "content": input_text}
    ]

    # Set max response tokens for AI conversation
    max_response_tokens = 150

    # Check for exit conditions
    if input_text.lower() in ['exit', 'bye', 'end']:
        farewell_response = "Goodbye sir!"
        print(f"{colors['magenta']}KITT:{colors['reset']} {farewell_response}")
        speak(farewell_response)
        exit()

    # Generate AI-based response
    completion = openai.ChatCompletion.create(
        model="local-model",
        messages=conversation,
        temperature=0.7,
        top_p=0.9,
        top_k=40
    )

    # Get assistant's reply from AI completion
    assistant_reply = completion.choices[0].message.content
    print(f"{colors['magenta']}KITT:{colors['reset']} {assistant_reply}")
    speak(assistant_reply)

    # Check for exit conditions again
    if input_text.lower() in ['exit', 'bye', 'end']:
        print("Exiting the conversation.")
        exit()

# Main loop for recording and processing audio/text input
print(f"{colors['yellow']}Ready to record. (Press 'B' to start, 'M' to type){colors['reset']}")
while True:
    try:
        if keyboard.is_pressed('b'):  # Start recording when 'B' is pressed
            audio_file = record_audio()
            transcribe_result = whisper_model.transcribe(audio_file)
            transcribed_text = transcribe_result["text"]
            print(f"{colors['blue']}VTM:{colors['reset']} {transcribed_text}")
            process_input(transcribed_text)
            os.remove(audio_file)  # Cleanup

        elif keyboard.is_pressed('m'):  # Use the GUI for input when 'M' is pressed
            typed_input = get_user_input()
            if typed_input:  # Ensure input is not None or empty
                print(f"{colors['blue']}VTM typed:{colors['reset']} {typed_input}")  # Print the typed input in the terminal
                process_input(typed_input)

    except KeyboardInterrupt:
        print("\nExiting...")
        break  # Exit the loop upon a KeyboardInterrupt

# Terminate PyAudio instance
audio.terminate()
Final Thoughts and Resources
I did try to add some adjustments to the GUI, but I kept running into problems, so I scrapped that. I may try refining it in the future, but not as an app. Instead, I may convert this into some JavaScript and HTML5 that can be used on a WordPress site for free—free site, free hosting, free data, and free models. How can you have a free website where you can transfer data and have your own personal AI that runs off of your own website page? I'm not going to get into it right now, but it would reside on a VPS, and no data would be shared with Google, OpenAI, or Microsoft. It would be run on your own cloud VPS. At some point, you will need to use someone’s compute resources if you want it to be mobile, but I will cover that in another video.
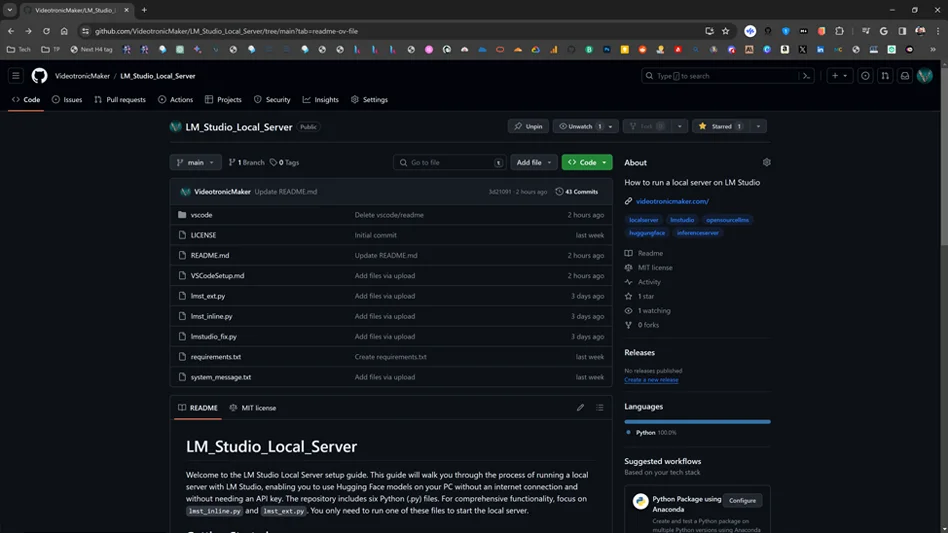
This is the second step toward building a useful AI assistant with many features. Please visit my GitHub Repository for the rest of the files. GitHub. Please consider following me on GitHub.

I'm all ears
I put these guides together to share what I'm learning, and your feedback helps me improve them. Whether it's a specific question, a tip you picked up, or something that tripped you up, lay it on me.
Fill out the form to the right, and let's keep learning.

