Skills Practice
Python
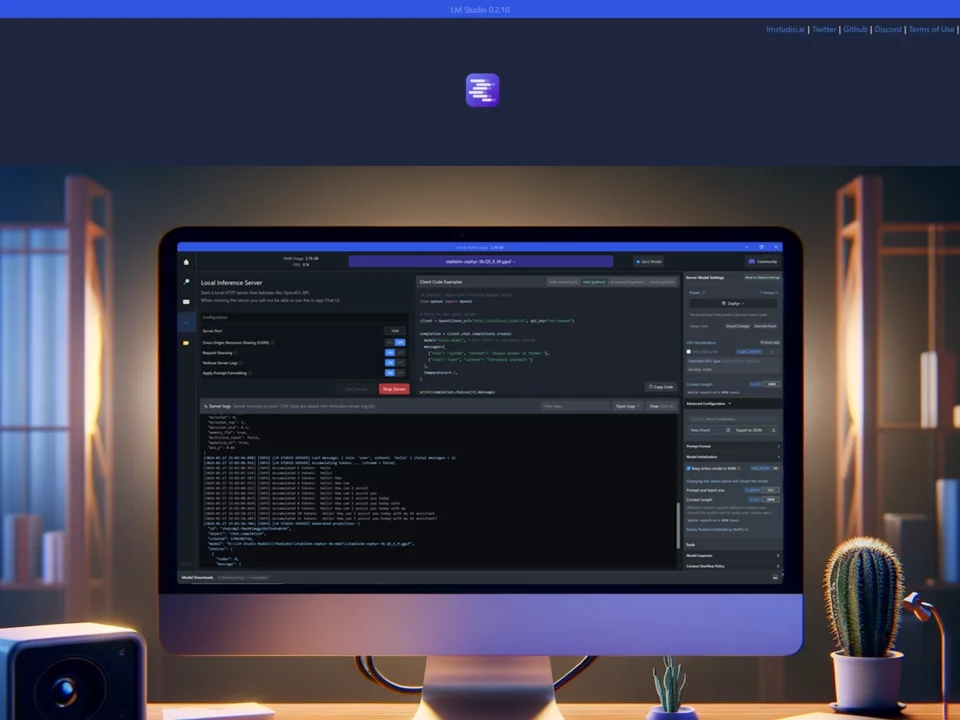
LM Studio
Text to Speech
Speech to Text
Project Syopsis
LM Studio Local Server with TTS-Microsoft Voice Package
In this tutorial, I continue with my exploration of LM Studio. I have come to realize the capabilities and power of Openai's GPT-3 and 4. I have chosen to learn artificial intelligence from GPT-4 , hands-on projects and online study. My ultimate goal is to build a personal assistant with voice interaction, fast and secure data handling and image generation capabilities.
Here is my current progress with regard to creating my AI assistant. I think that by the time I am done, the available models will get smaller and more intelligent so I am not too worried about not having the latest and greatest computer right now.
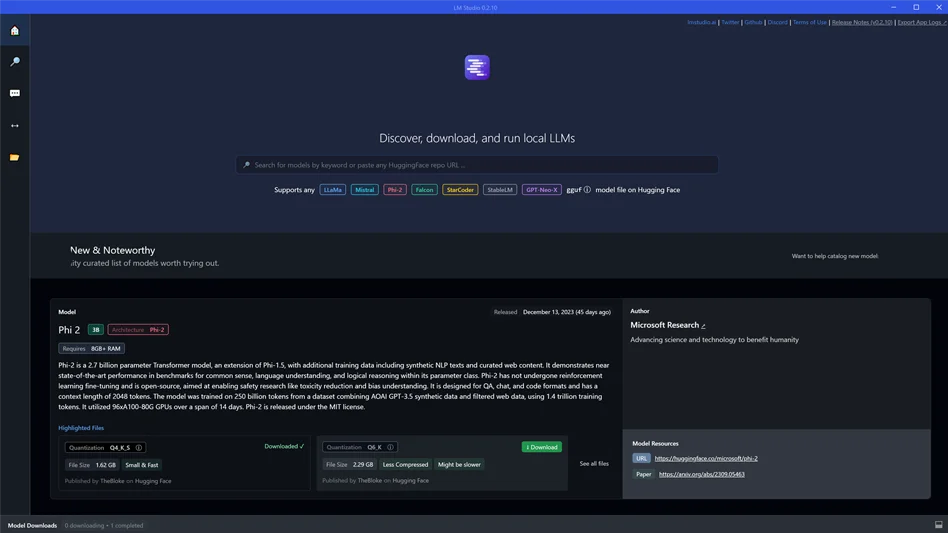
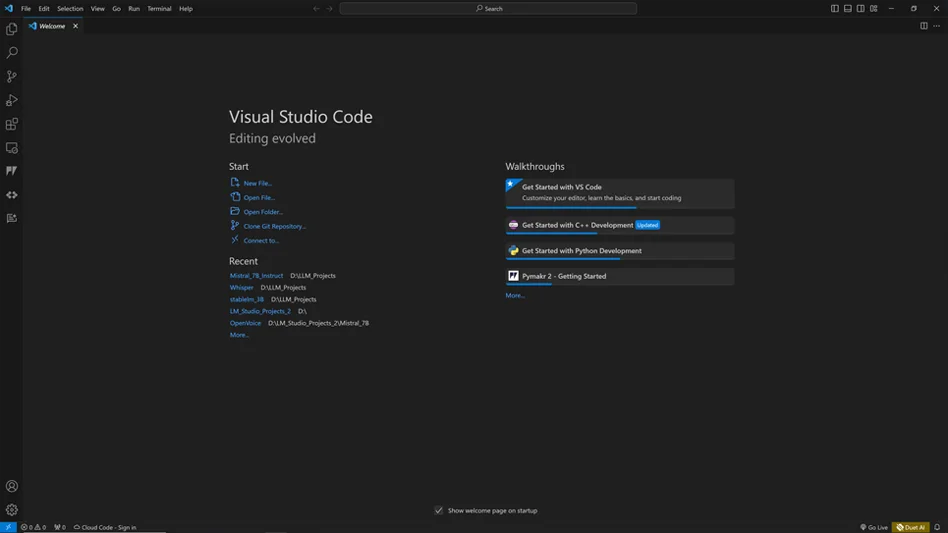
Software
Already in OS
Upgrading the LM Studio Project by Adding Text to Speech from the Microsoft Voice Package

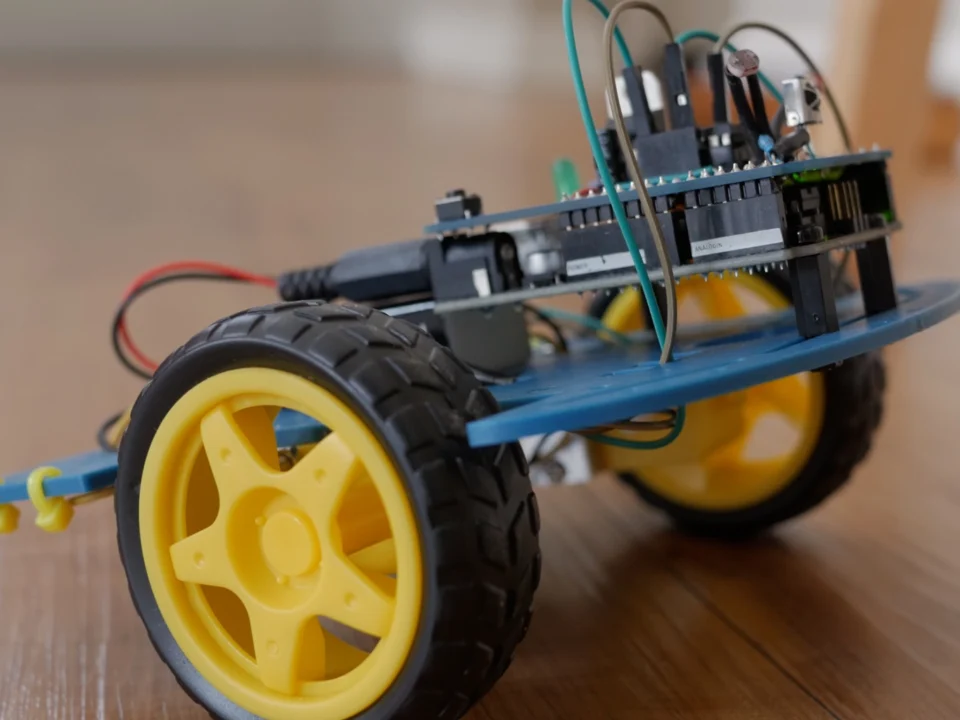
* AI generated image
This is a new iteration building on the concepts of my initial version that got the LM Studio Local Server started. I covered this in the previous video.
In this iteration, I integrated several features to enhance the functionality of the assistant. I started with Whisper for accurate transcriptions and added a typing interface using the Tkinter Python Library. For voice output, I chose Microsoft Windows' Text-to-Speech engine, specifically Hazel's voice, which, in my opinion, was the best voice in the language pack. My 2012 MacBook Pro has much better text to speech and speech to text but it isn’t compatible with LM Studio. I’ll use a better method in the future but this works for now.
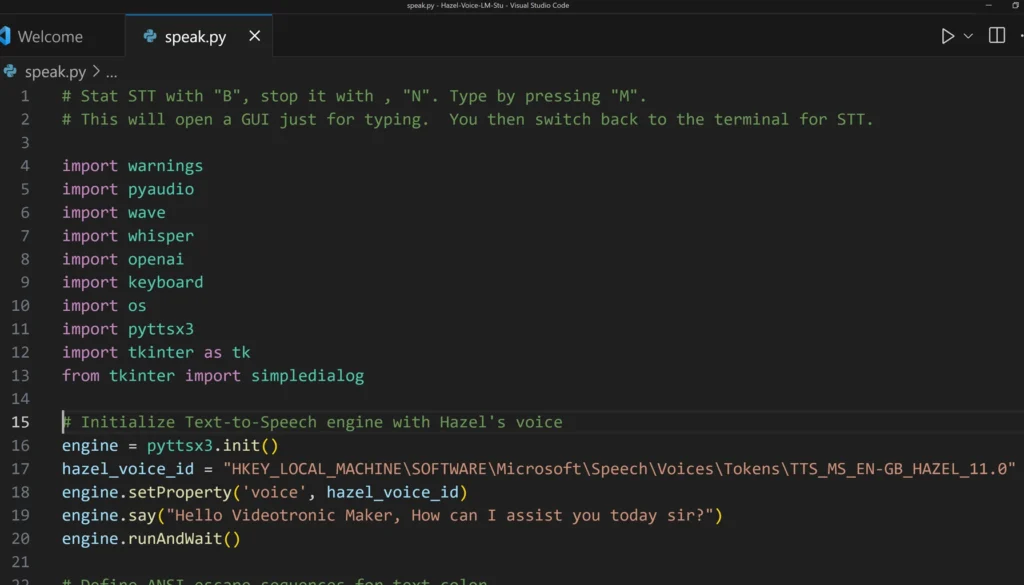
Microsoft Voice Implementation
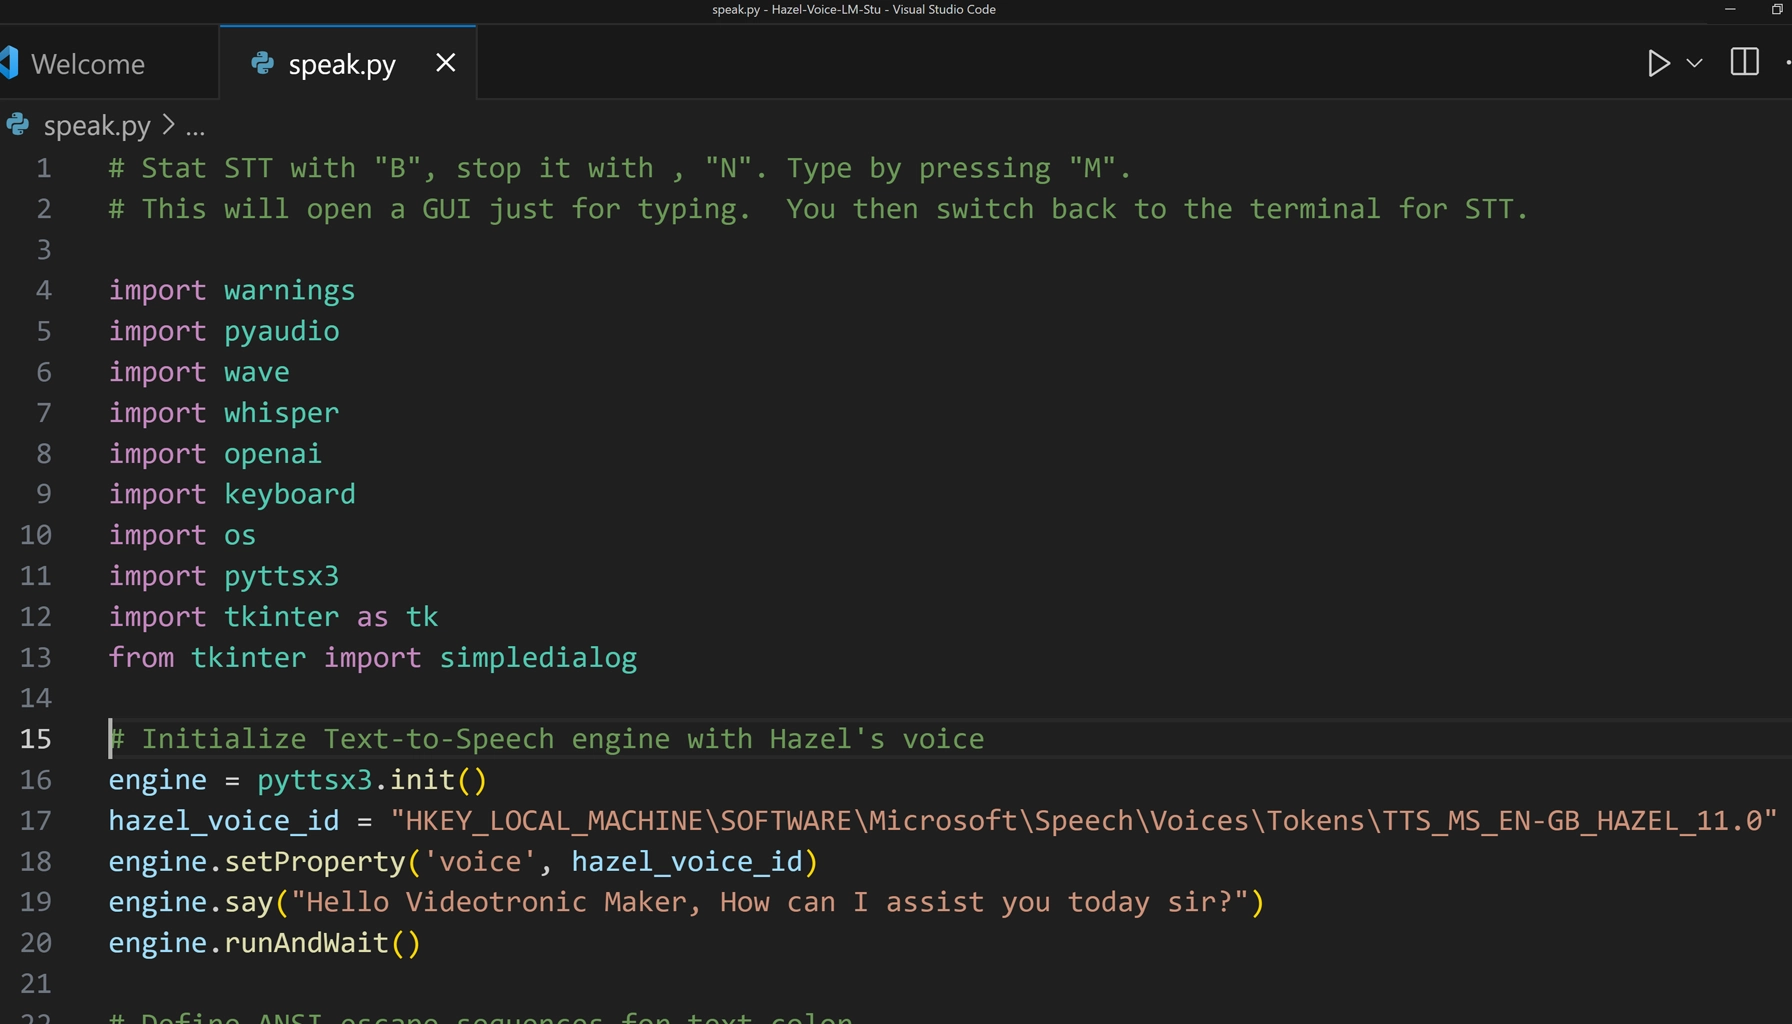
Initially, the script automatically defaulted to the Microsoft voice package. However, even though I had "Hazel" set as the default voice, it was using the wrong voice. This code forced the script to use the "Hazel" voice.
If you are using a Mac OS then you can delete this block.
# Initialize Text-to-Speech engine with Hazel's voice

engine = pyttsx3.init()
hazel_voice_id = "HKEY_LOCAL_MACHINE\SOFTWARE\Microsoft\Speech\Voices\Tokens\TTS_MS_EN-GB_HAZEL_11.0"
engine.setProperty('voice', hazel_voice_id)
engine.say("Hello Videotronic Maker, How can I assist you today sir?")
engine.runAndWait()
- Click the image to pop up
Python Code Changes
Color Coding
To make the text stand out, I used ANSI escape sequences for color.
# Define ANSI escape sequences for text color
colors = {
    "blue": "\033[94m",
    "bright_blue": "\033[96m",
    "orange": "\033[93m",
    "yellow": "\033[93m",
    "white": "\033[97m",
    "red": "\033[91m",
    "magenta": "\033[35m",
    "bright_magenta": "\033[95m",
    "cyan": "\033[36m",
    "bright_cyan": "\033[96m",
    "green": "\033[32m",
    "bright_green": "\033[92m",
    "reset": "\033[0m"
}
Latency
I also tried to tackle latency issues by tweaking the audio settings, shifting from 16KHz down to 8 KHz, and opting for the "Tiny" model in Whisper. I am not so sure that it made a big difference but I think it is a step in the right direction. I tried switching to mp3 from wave but I haven’t gotten it to work yet.
whisper_model = whisper.load_model("tiny")      # orig=base

FORMAT = pyaudio.paInt16
CHANNELS = 1
RATE = 8000     # orig = 16000
CHUNK = 1024
audio = pyaudio.PyAudio()
Embedded System Prompt
Additionally, I went back to an inline system prompt. I will change that back later in a future iteration.
def process_input(input_text):
    conversation = [
        {"role": "system", "content": "You are KITT, the assistant chatbot. My name is VideotronicMaker, the human and user. Your role is to assist the human, who is known as VideotronicMaker. Respond concisely and accurately, maintaining a friendly, respectful, and professional tone. Emphasize honesty, candor, and precision in your responses."},
        {"role": "user", "content": input_text}
    ]
I also added Top P and K hyperparameters to refine the responses. I don’t believe that those options are still available when you switch to the local server from the chat UI. I noticed that many tutorials skip over this feature, so I've done some homework and plan to share what I’ve learned in an upcoming video.
completion = openai.ChatCompletion.create(
        model="local-model",
        messages=conversation,
        temperature=0.7,
        top_p=0.9,
        top_k=40
    )
Batch File
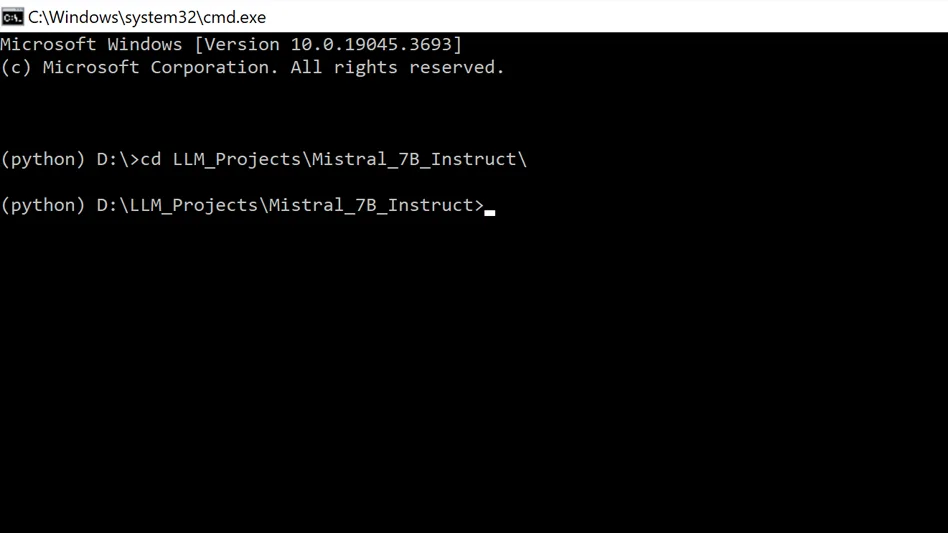
Lastly, I learned yet another way to run this file using a batch file. The reason I did this was because VS code takes a little more tweaking to switch to text inputs in a UI so I went back to the windows cmd terminal to run it. The batch file was a convenient alternative to the vscode task config file.
@echo off
REM Activate the Conda environment
call conda activate python

REM Change to the specific drive and directory
D:
cd /d D:\path\to your project\

REM Check if the directory change was successful
if not exist "%cd%" (
    echo The system cannot find the path specified: D:\path\to your project\
    goto end
)

REM Run the Python script
python speak.py

:end
pause
The Final Code: speak.py
# Stat STT with "B", stop it with , "N". Type by pressing "M".
# This will open a GUI just for typing.  You then switch back to the terminal for STT.

import warnings
import pyaudio
import wave
import whisper
import openai
import keyboard
import os
import pyttsx3
import tkinter as tk
from tkinter import simpledialog

# Initialize Text-to-Speech engine with Hazel's voice.  This applies to Windows users only.  Mac users can comment this block out.
engine = pyttsx3.init()
hazel_voice_id = "HKEY_LOCAL_MACHINE\SOFTWARE\Microsoft\Speech\Voices\Tokens\TTS_MS_EN-GB_HAZEL_11.0"
engine.setProperty('voice', hazel_voice_id)
engine.say("Hello Videotronic Maker, How can I assist you today sir?")
engine.runAndWait()

# Define ANSI escape sequences for text color
colors = {
    "blue": "\033[94m",
    "bright_blue": "\033[96m",
    "orange": "\033[93m",
    "yellow": "\033[93m",
    "white": "\033[97m",
    "red": "\033[91m",
    "magenta": "\033[35m",
    "bright_magenta": "\033[95m",
    "cyan": "\033[36m",
    "bright_cyan": "\033[96m",
    "green": "\033[32m",
    "bright_green": "\033[92m",
    "reset": "\033[0m"
}

warnings.filterwarnings("ignore", message="FP16 is not supported on CPU")


openai.api_base = "http://localhost:1234/v1"
openai.api_key = "not-needed"

whisper_model = whisper.load_model("tiny")      # orig=base

FORMAT = pyaudio.paInt16
CHANNELS = 1
RATE = 8000     # orig = 16000
CHUNK = 1024
audio = pyaudio.PyAudio()

def speak(text):
    engine.say(text)
    engine.runAndWait()

def record_audio():
    stream = audio.open(format=FORMAT, channels=CHANNELS, rate=RATE, input=True, frames_per_buffer=CHUNK)
    print(f"{colors['green']}Start speaking... (Press 'N' to stop){colors['reset']}")
    frames = []

    while True:
        data = stream.read(CHUNK)
        frames.append(data)
        if keyboard.is_pressed('n'):
            print(f"{colors['red']}Stopping recording.{colors['reset']}")
            break

    stream.stop_stream()
    stream.close()

    wf = wave.open("temp_audio.wav", 'wb')
    wf.setnchannels(CHANNELS)
    wf.setsampwidth(audio.get_sample_size(FORMAT))
    wf.setframerate(RATE)
    wf.writeframes(b''.join(frames))
    wf.close()

    return "temp_audio.wav"

def get_user_input():
    """Create a GUI dialog for user input."""
    ROOT = tk.Tk()
    ROOT.withdraw()  # Hide the main Tkinter window
    user_input = simpledialog.askstring(title="Text Input", prompt="Type your input:")
    return user_input

def process_input(input_text):
    conversation = [
        {"role": "system", "content": "You are KITT, the assistant chatbot. My name is VideotronicMaker, the human and user. Your role is to assist the human, who is known as VideotronicMaker. Respond concisely and accurately, maintaining a friendly, respectful, and professional tone. Emphasize honesty, candor, and precision in your responses."},
        {"role": "user", "content": input_text}
    ]

    completion = openai.ChatCompletion.create(
        model="local-model",
        messages=conversation,
        temperature=0.7,
        top_p=0.9,
        top_k=40
    )

    assistant_reply = completion.choices[0].message.content
    print(f"{colors['magenta']}KITT:{colors['reset']} {assistant_reply}")
    speak(assistant_reply)

print(f"{colors['yellow']}Ready to record. (Press 'B' to start, 'M' to type){colors['reset']}")

while True:
    try:
        if keyboard.is_pressed('b'):  # Start recording when 'B' is pressed
            audio_file = record_audio()
            transcribe_result = whisper_model.transcribe(audio_file)
            transcribed_text = transcribe_result["text"]
            print(f"{colors['blue']}VTM:{colors['reset']} {transcribed_text}")
            process_input(transcribed_text)
            os.remove(audio_file)  # Cleanup

        elif keyboard.is_pressed('m'):  # Use the GUI for input when 'M' is pressed
            typed_input = get_user_input()
            if typed_input:  # Ensure input is not None or empty
                print(f"{colors['blue']}VTM typed:{colors['reset']} {typed_input}")  # Print the typed input in the terminal
                process_input(typed_input)

    except KeyboardInterrupt:
        print("\nExiting...")
        break  # Correctly placed to exit the loop upon a KeyboardInterrupt


audio.terminate()
Final Thoughts and Resources
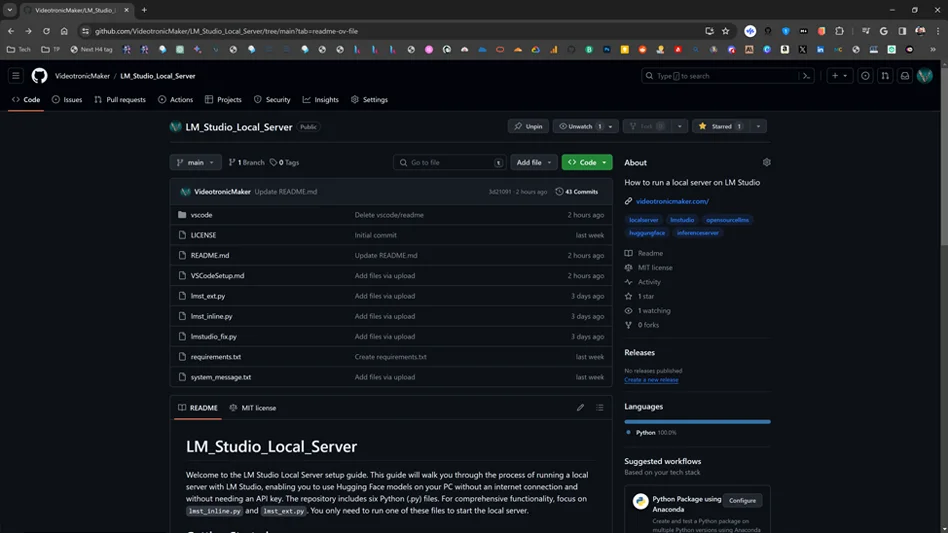
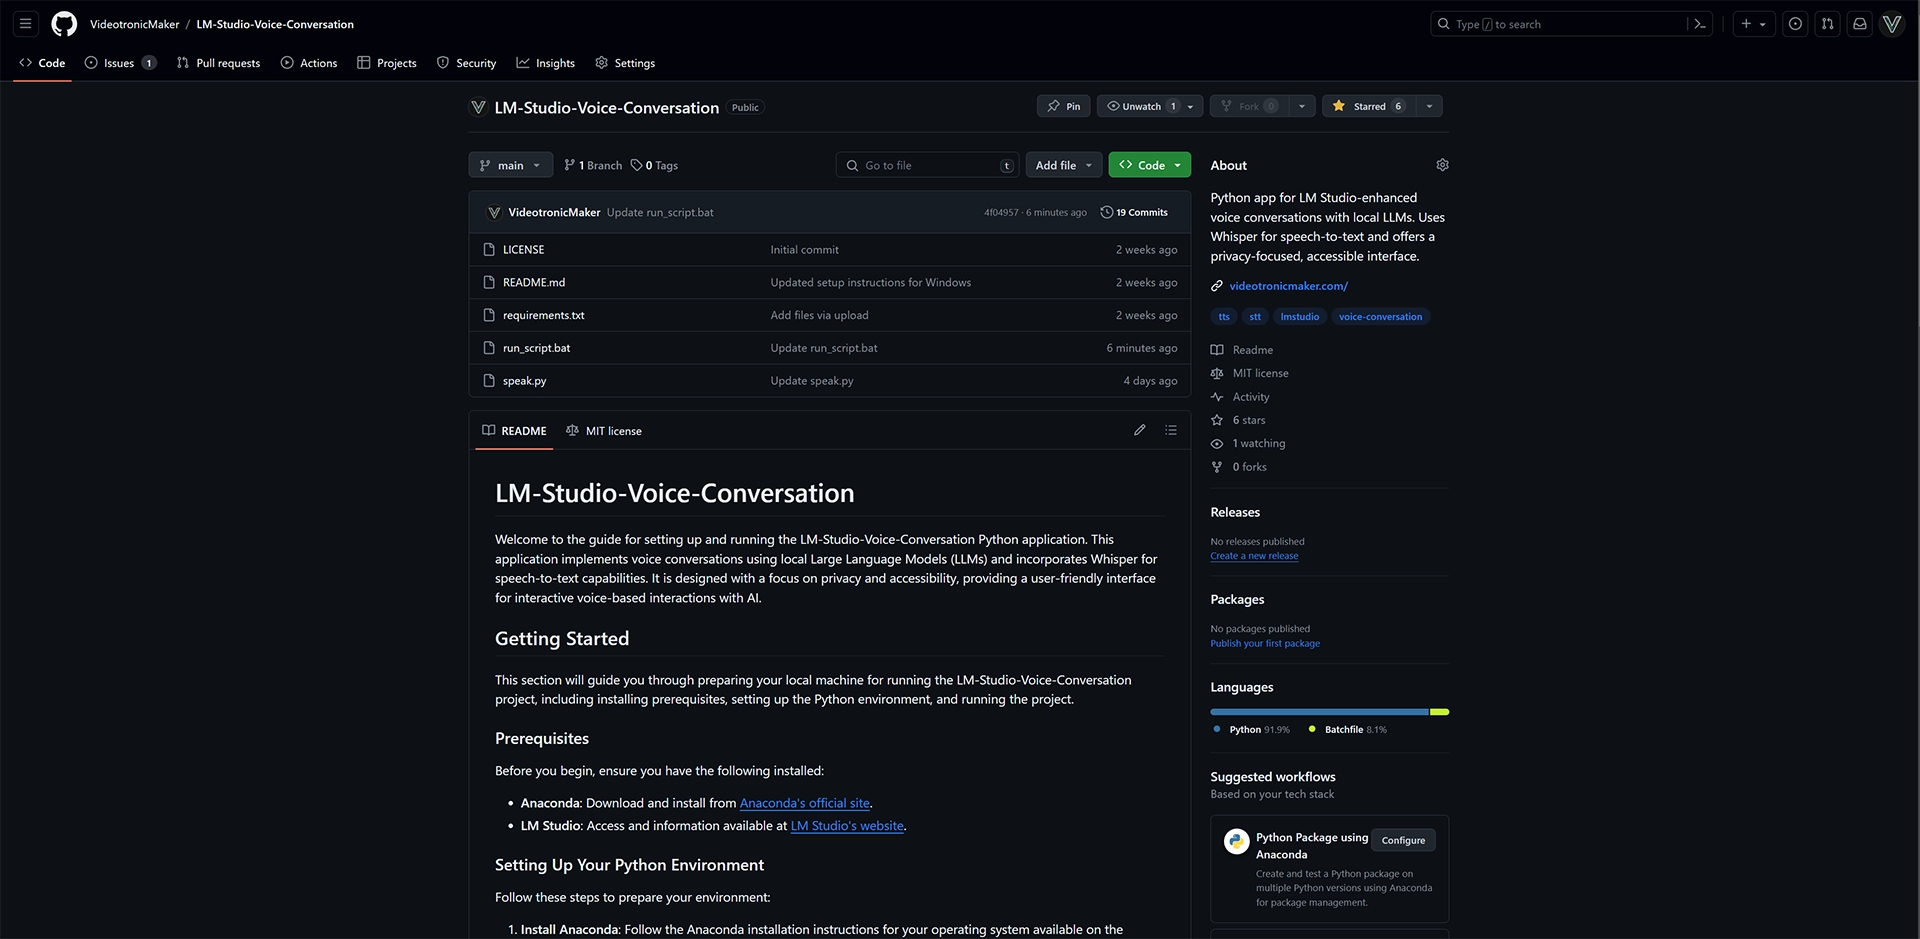
This is the second step toward building a useful AI assistant with many features. Please visit my GitHub Repository for the rest of the files GitHub. Please consider following me on GitHub.
Your Experience & Insights
I put these guides together to share what I'm learning, and your feedback helps me improve them. Whether it's a specific question, a tip you picked up, or something that tripped you up, lay it on me.
Fill out the form to the right, and let's keep learning.

